(2 hours)
Had to remove mower height adjustment assembly. Required 15mm socket and extension. Have to flip in right side of the link from center of the machine to the outside then slide the left side through.
5/23/2023 Bradford, PA Robert
(4 hours)
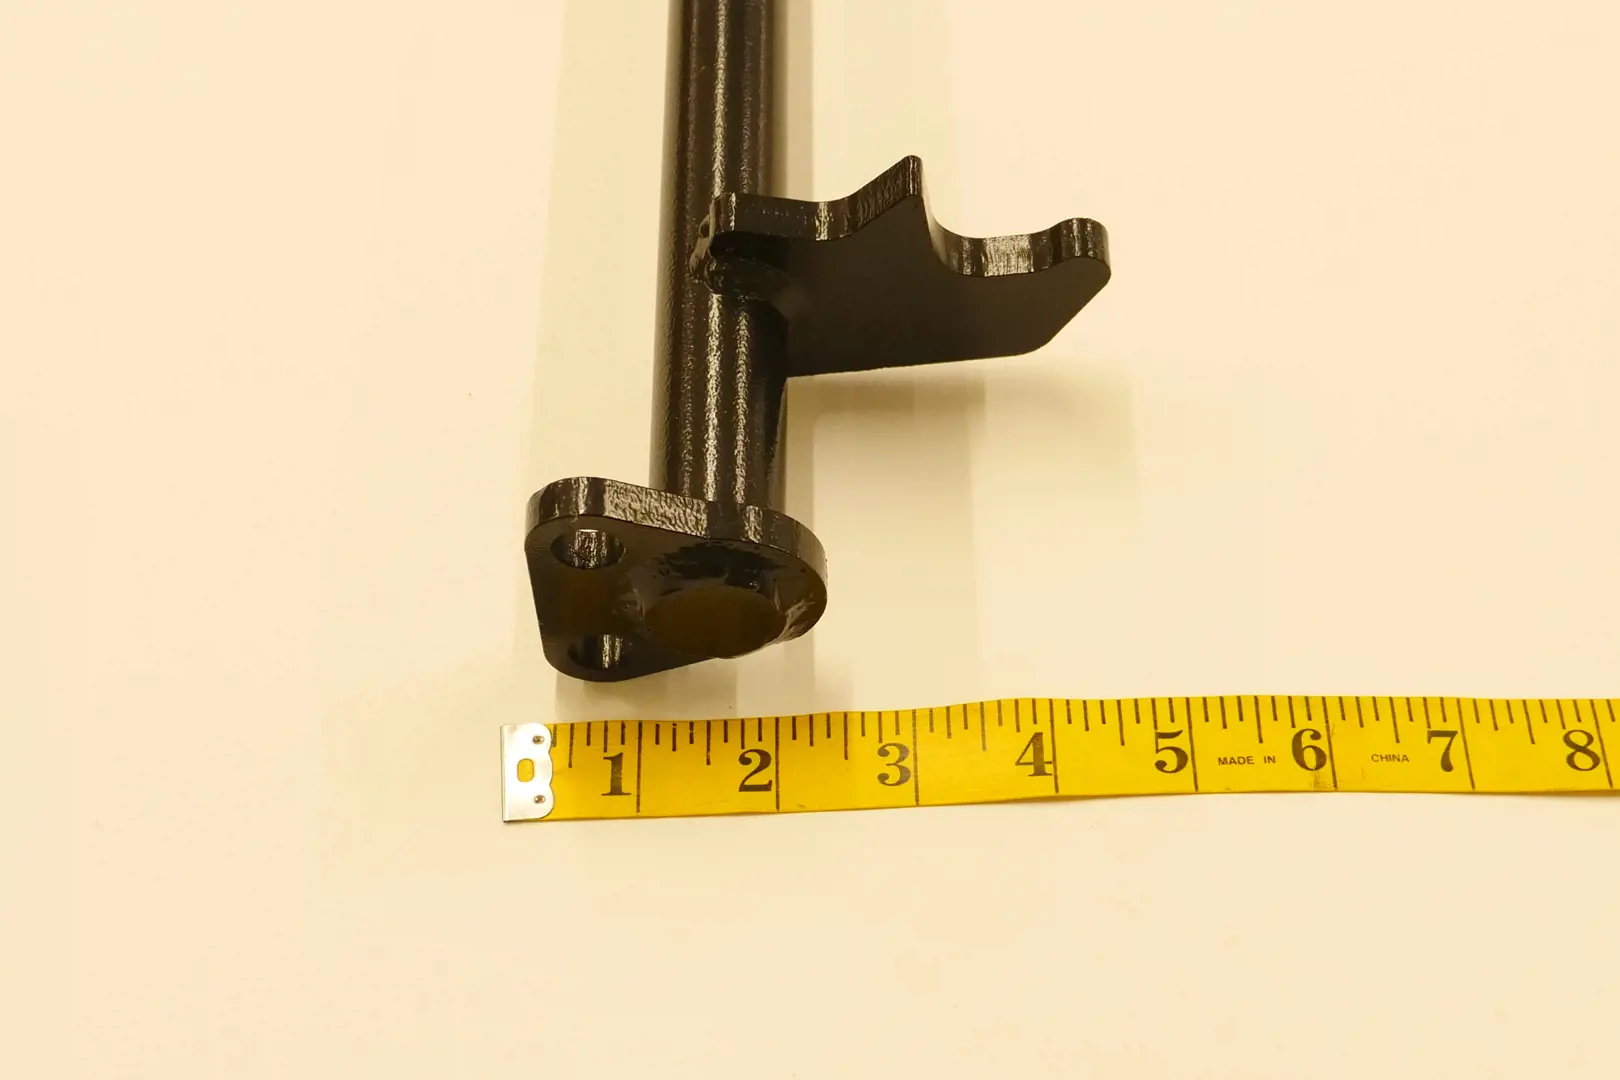
It's a pain to replace this part, but it could be worse, I suppose. Remove the 2 bolts from the triangular bracket that the left side support is connected to, and move the left bracket out of the way. Remove the two-piece bushings on both sides of the frame. In order to remove this part out toward the right side, you have to rotate the arm up counterclockwise and get it past the rear fender so that the triangular bracket will fit through the hole in the frame on the left side. On my BX2660, I had to remove the handle for the 3-point hitch lowering speed control, floor pan (6 bolts or so), both grab handle rear bolts, two of the right-side seat support bracket bolts and loosen the third so it would rotate out of the way of the rear fender, remove the ROPS (6 nuts), and then I could pry the rear fender up and forward enough for the arm to clear the fender. I used a length of 2x4 to pry the fender up and forward out of the way. Once all that is done, installation of the new one isn't too terrible. Pry the fender up and forward again and install reverse of removal, rotating the arm clockwise past the fender once you get the triangular bracket through the frame on the left. Have to slip the two-piece bushings back in on each side and then try to remember where all the nuts and bolts go.
Our part locator will check obsolete warehouses and other sources so we can get the part to your door.
Part Locator Notification Request
None of our sources currently have this item. Obsolete warehouses regularly get discontinued parts, and we can let you know if this part becomes available.


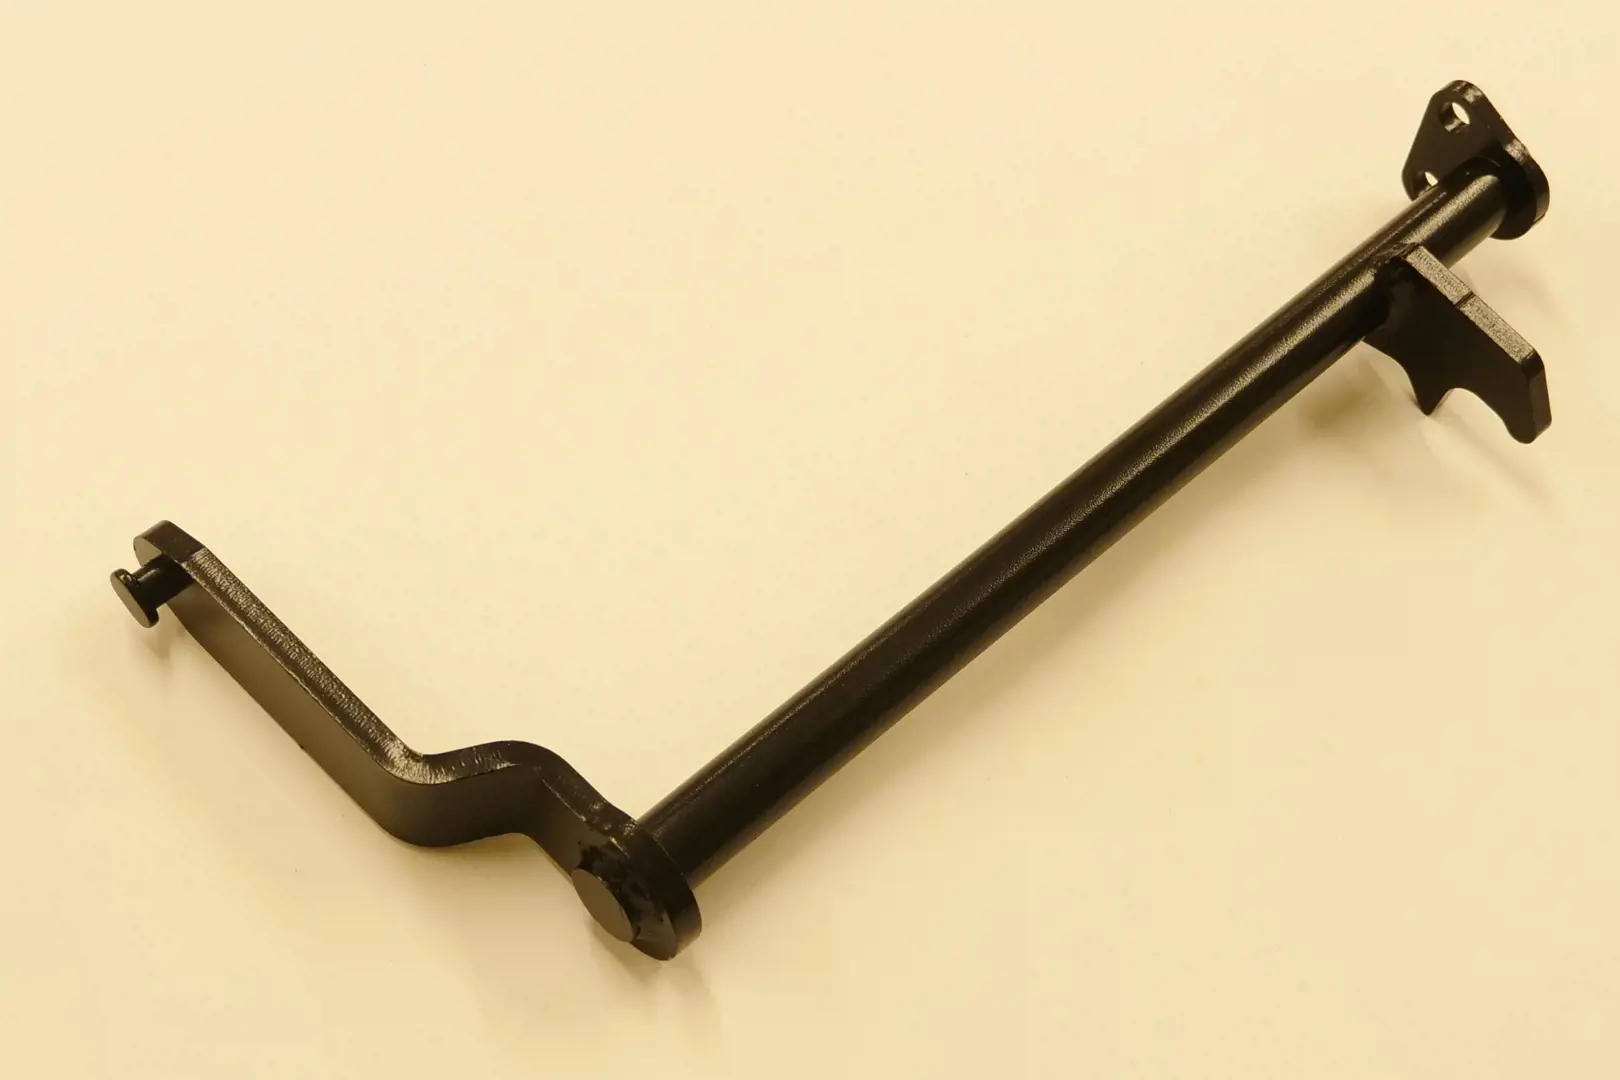
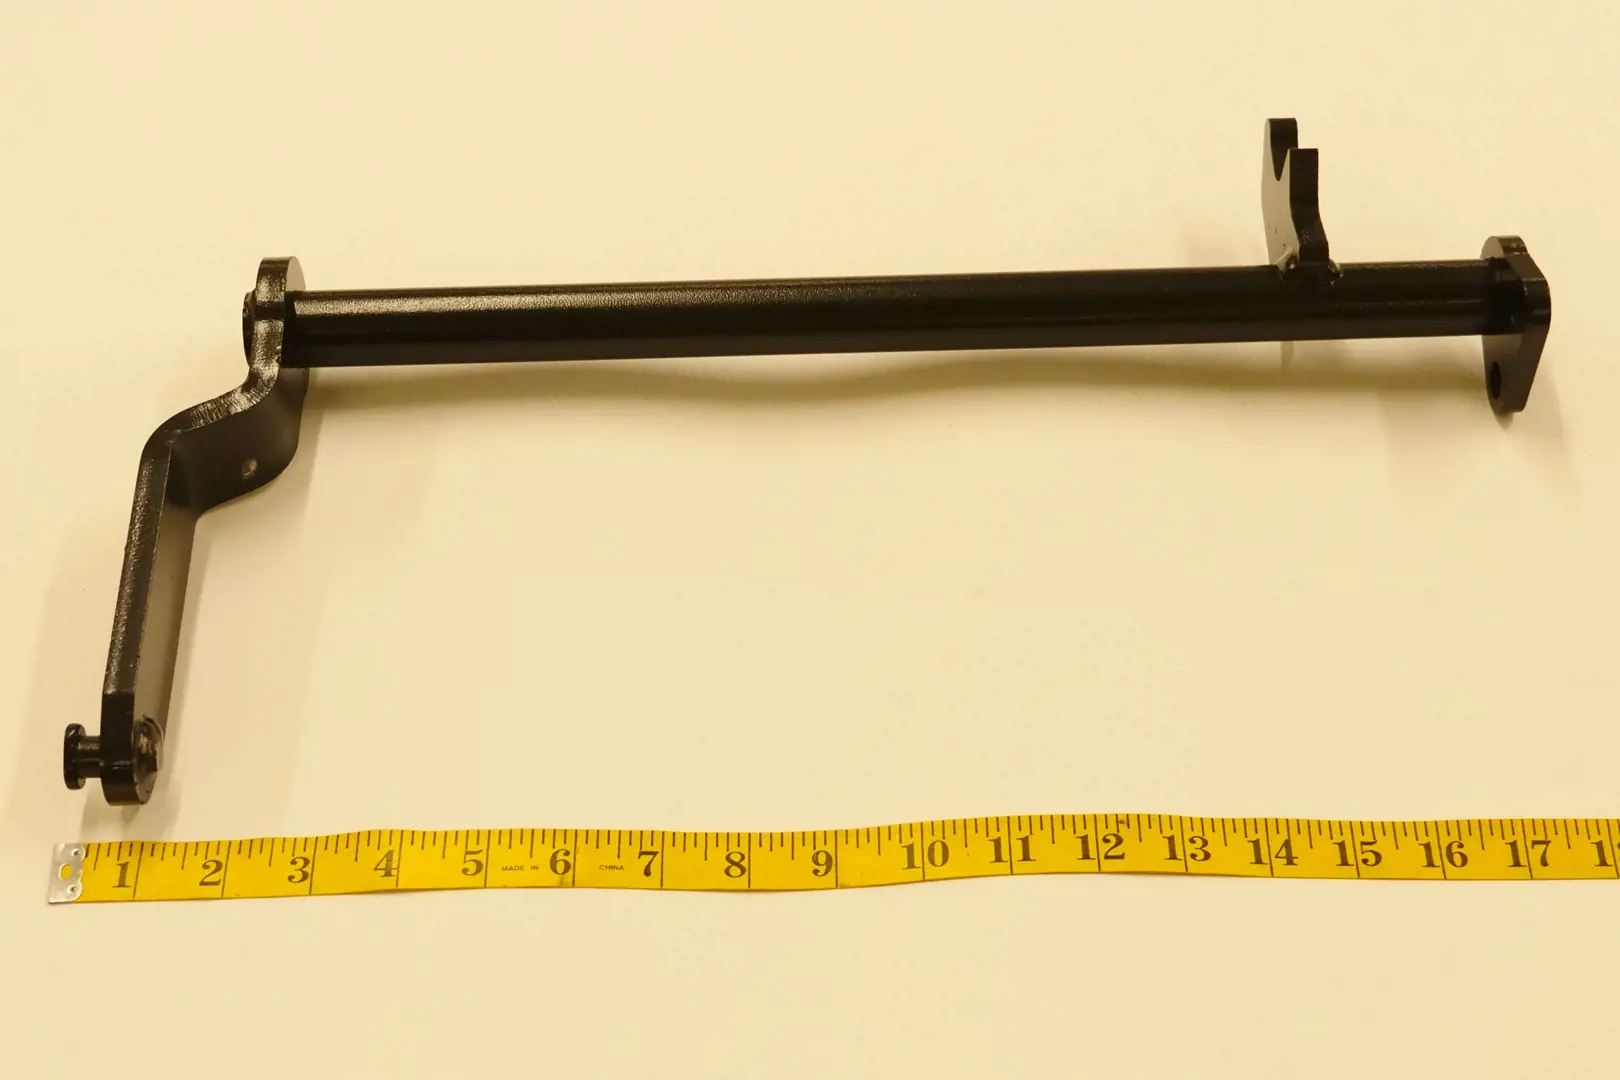
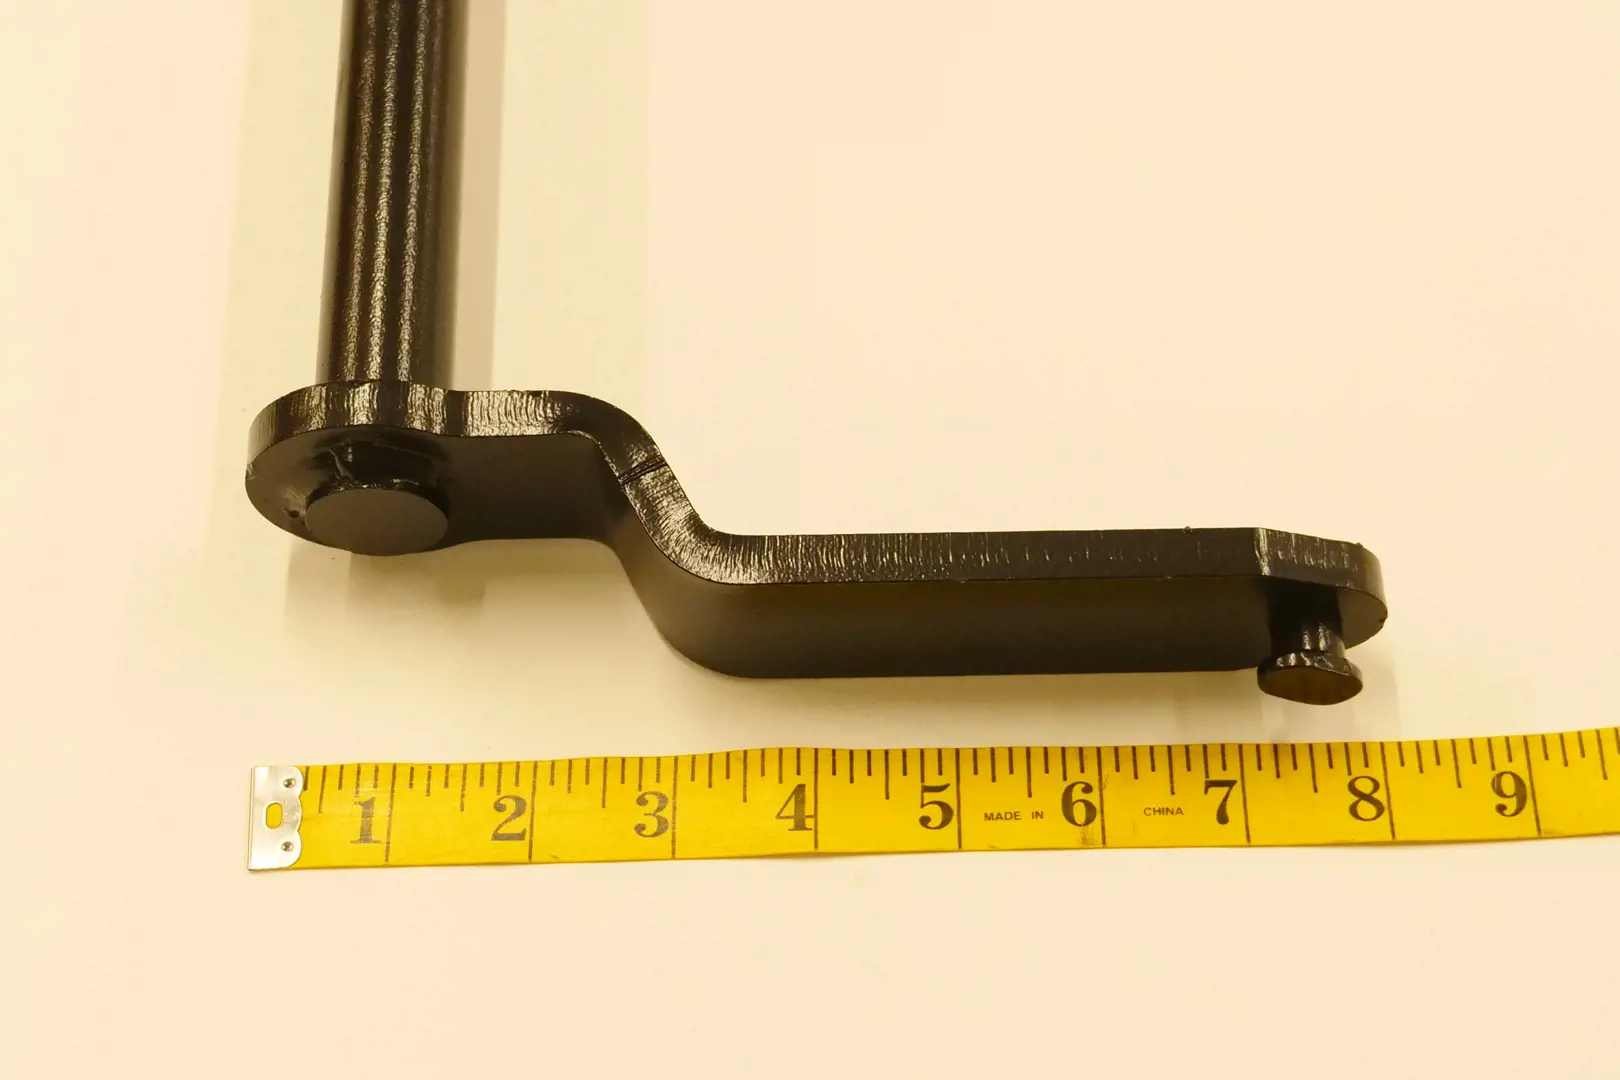
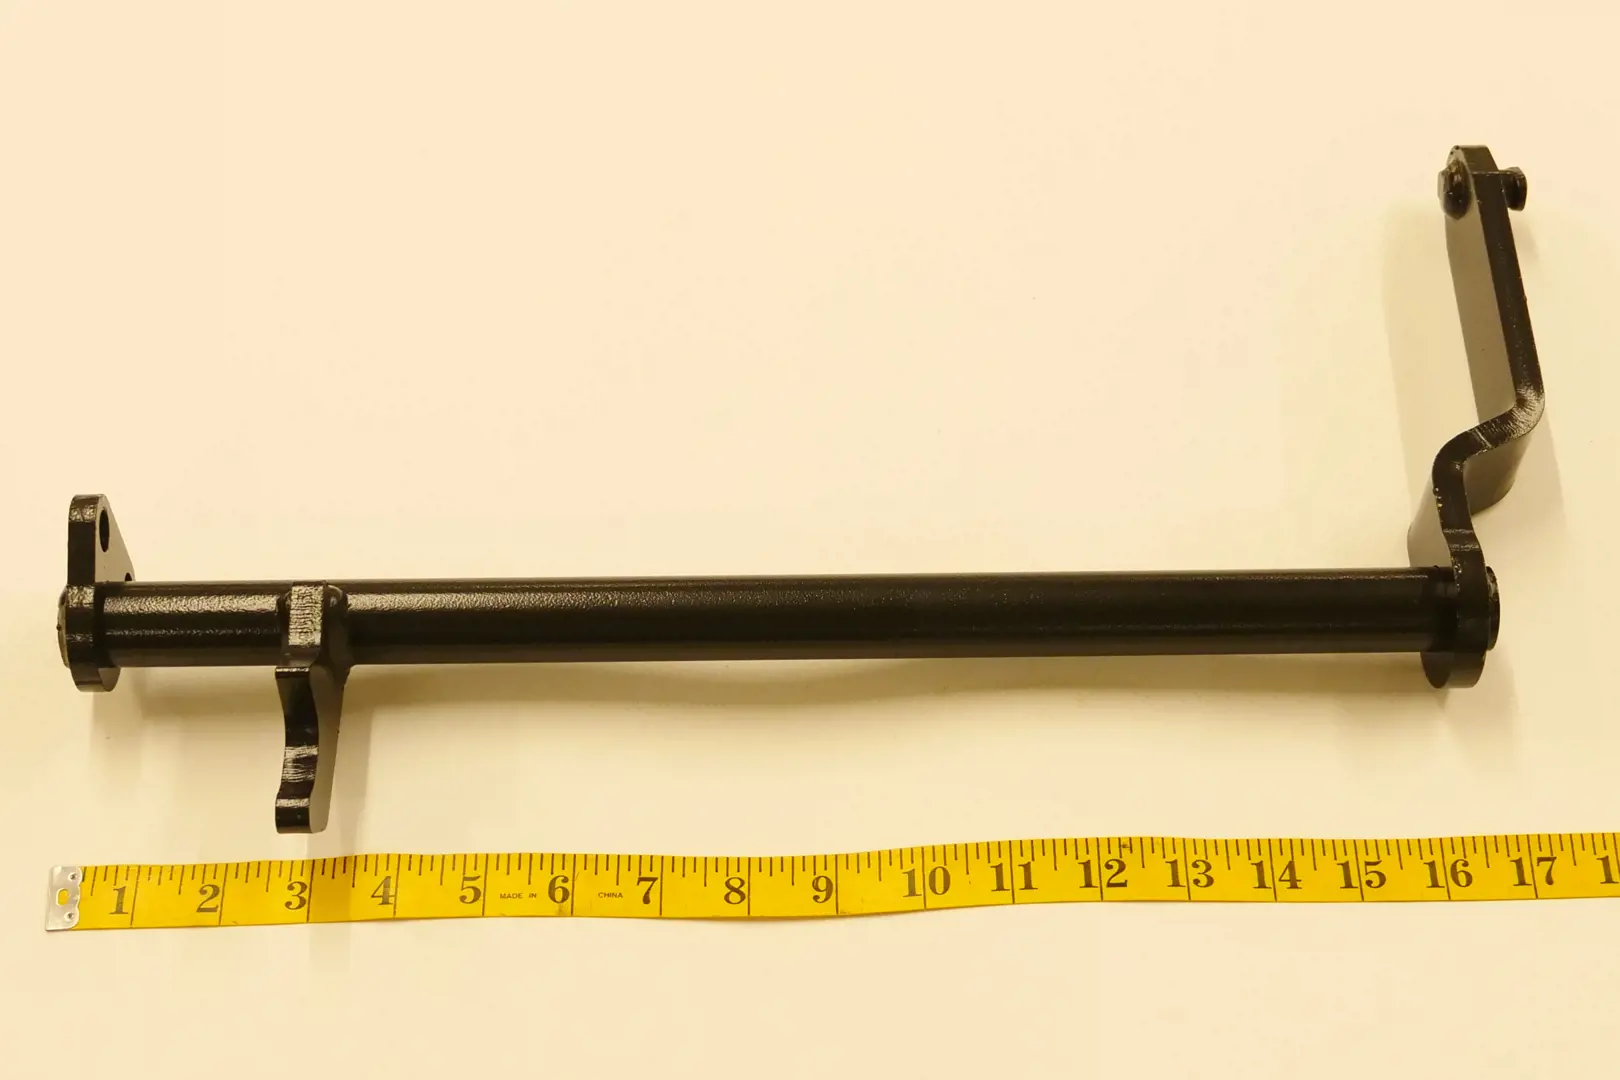


Had to remove mower height adjustment assembly. Required 15mm socket and extension. Have to flip in right side of the link from center of the machine to the outside then slide the left side through.
Bradford, PA
Robert