
Kubota BX-Series 3pt hitch installation
Tags : 3-point-hitch | compact-tractors | kubota | kubota-bx-series | kubota-tractors |Neil from Messick's here with today's Three Minute Thursday. Today I'm going to take a couple of minutes to show you how to put a three-point hitch kit onto the back of your BX tractor.
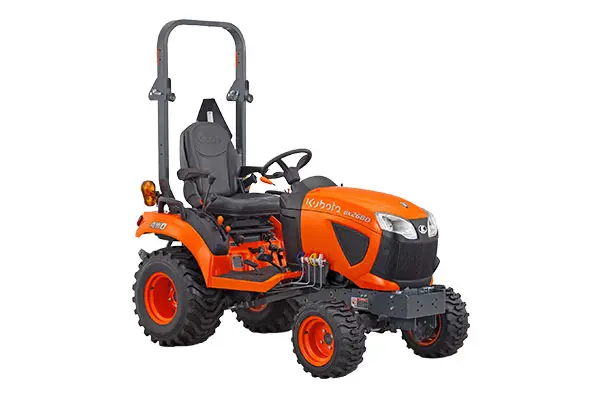
On the tractor loader backhoe versions of Kubota's BX series, machines like the BX 24, 25,25D, and 23s this three-point hitch kit is optional equipment. When these tractor loader backhoe type machines it's not necessarily a given that a customer is going to use this hardware, so it is an optional kit.
Thankfully Kubota prices these things really well, they don't take advantage of you on these, and they're only in this case I believe about $225 or so in order to put on the back of your tractor. This linkage is exactly the same as all of the non-backhoe versions. If you're watching this and you had 2380, if you've decided to take your three-point hitch linkage off, it's going to go back on in exactly the same way.
The first thing that I would recommend doing, if you've got say a pile of stuff laying on the ground like you tend to start with, or you're taking these things out of the cardboard box that they come in, is try to lay these things out on the ground and orient them on the way they're going to go in the back of a tractor.
In a three-point hit, you have two lower lengths that come out down here at the bottom and then an upper lift arm that will go up to this piece here at the top that does the lifting, this is called a rock shaft. Then you'll have a center link, the top of the three-point hitch that'll attach up here in the top, it's called a top link. I generally would start here with the lower links and then put the top link on last.
We're going to take the top link itself, the top link retention bracket, and a pin and Clevis and set them off to the side. The bottom links here are going to go in by installing a rocking retention pin long retention pin across the bottom here, and then get pinned in up here at the top in order to lift.
We're going to start by taking these two bushings and sliding the bushings onto the ends of this long rod. This is going to go across the backside of the three-point arms and then had these two bushings. You're going to push everything on here into the inside and then slide this back of the tractor. With that extra space, you can slide that arm back in through those two holes you see back here.
Now you're going to notice it sits in there really loosely, that's because these two bushings are then used to snug that up. Now there's a flat part on those bushings that you're going to turn towards the top, and you're going to slide them back there into the hole. Once those things are locked in place, you'll find that you now can't move this rod. Now, these bushings lock that thing in the place, so it's now not going to rattle out of place.
Once that's in you could take a three-point hitch arms and slide them the whole way apart, and then this bracket back here that's attached to the sway bars, you can lift up and drop over top of this in order to hold the three-point arms open. Now in order to hold that piece in place, you've got this funny little odd-shaped pin and a hairpin here that will go through the bottom. You just bring that guy up from the bottom and stick the hairpin through it, and that ensures that this plate can't come off.
Once you've supported the lower side thereof the three-point hitch arms, you can then lift these up, and these pins here are going to go through the top rock shaft holes in order to put that in place. The rock shaft here is what's actually going to lift the three-point hitch up and down.
Once you get your lower links on you can then do your top links, you got a handful of pieces here to do that. You have the top link itself, this bracket which holds the top link into an upright position, and then a regular category one hitch pin. You're going to watch and you put this bracket on, there's a cut out in here that keeps it in the right direction.
You can take all these pieces and line them up up here with your bracket, your top link, and your pin, and just push the pin through all of that. Once that's in place then you can see this bracket can be used, in order to lock that top link up so it's out of the way of the three-point hitch when you're hooking up implements.
That's pretty easy, it looks rather intimidating when all the bits are laying on the ground. Once you've taken all that, it's just a couple of minutes that it takes to put that back in place and be back to three-point hitch operation again. If you need a kit for all of these parts, we have parts needs for your tractors that we can help you with. or shopping for a new piece of equipment, give us a call at Messick's. We're available at 800-222-33373. We are online at messicks.com