

EQUIPMENT BASICS CONTENT

How a 1960s Microfiche Machine Saved the Day for a Kubota Owner
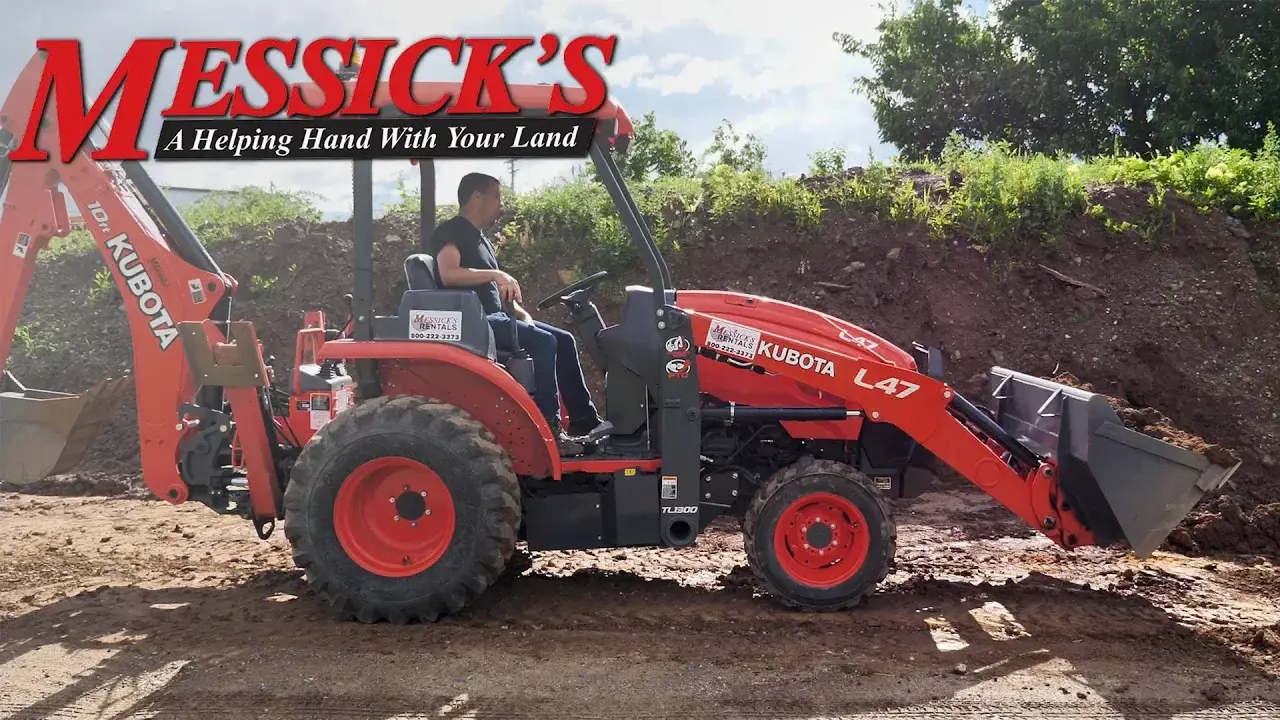
Are You Making These Common Loader Mistakes?

Application & Configuration. Setting up equipment for optimum performance.
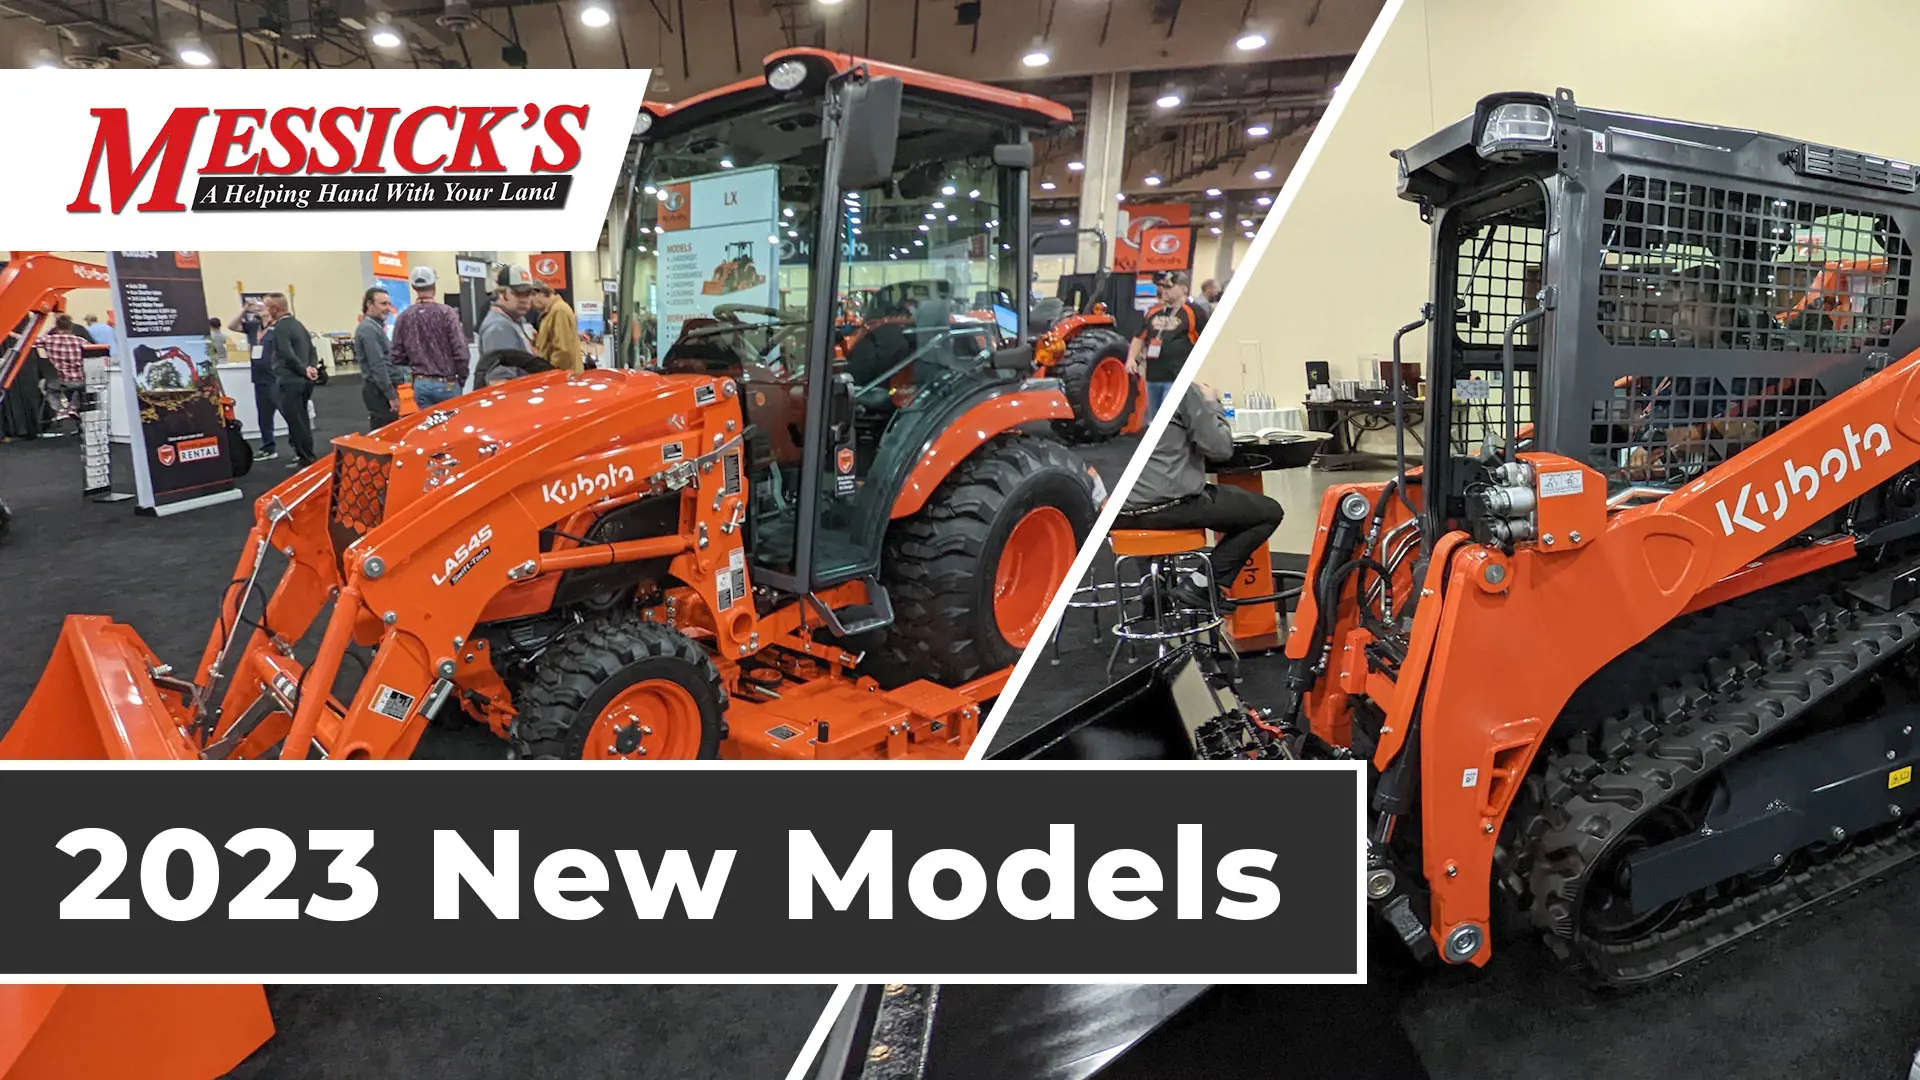
Kubota 2023 New Products
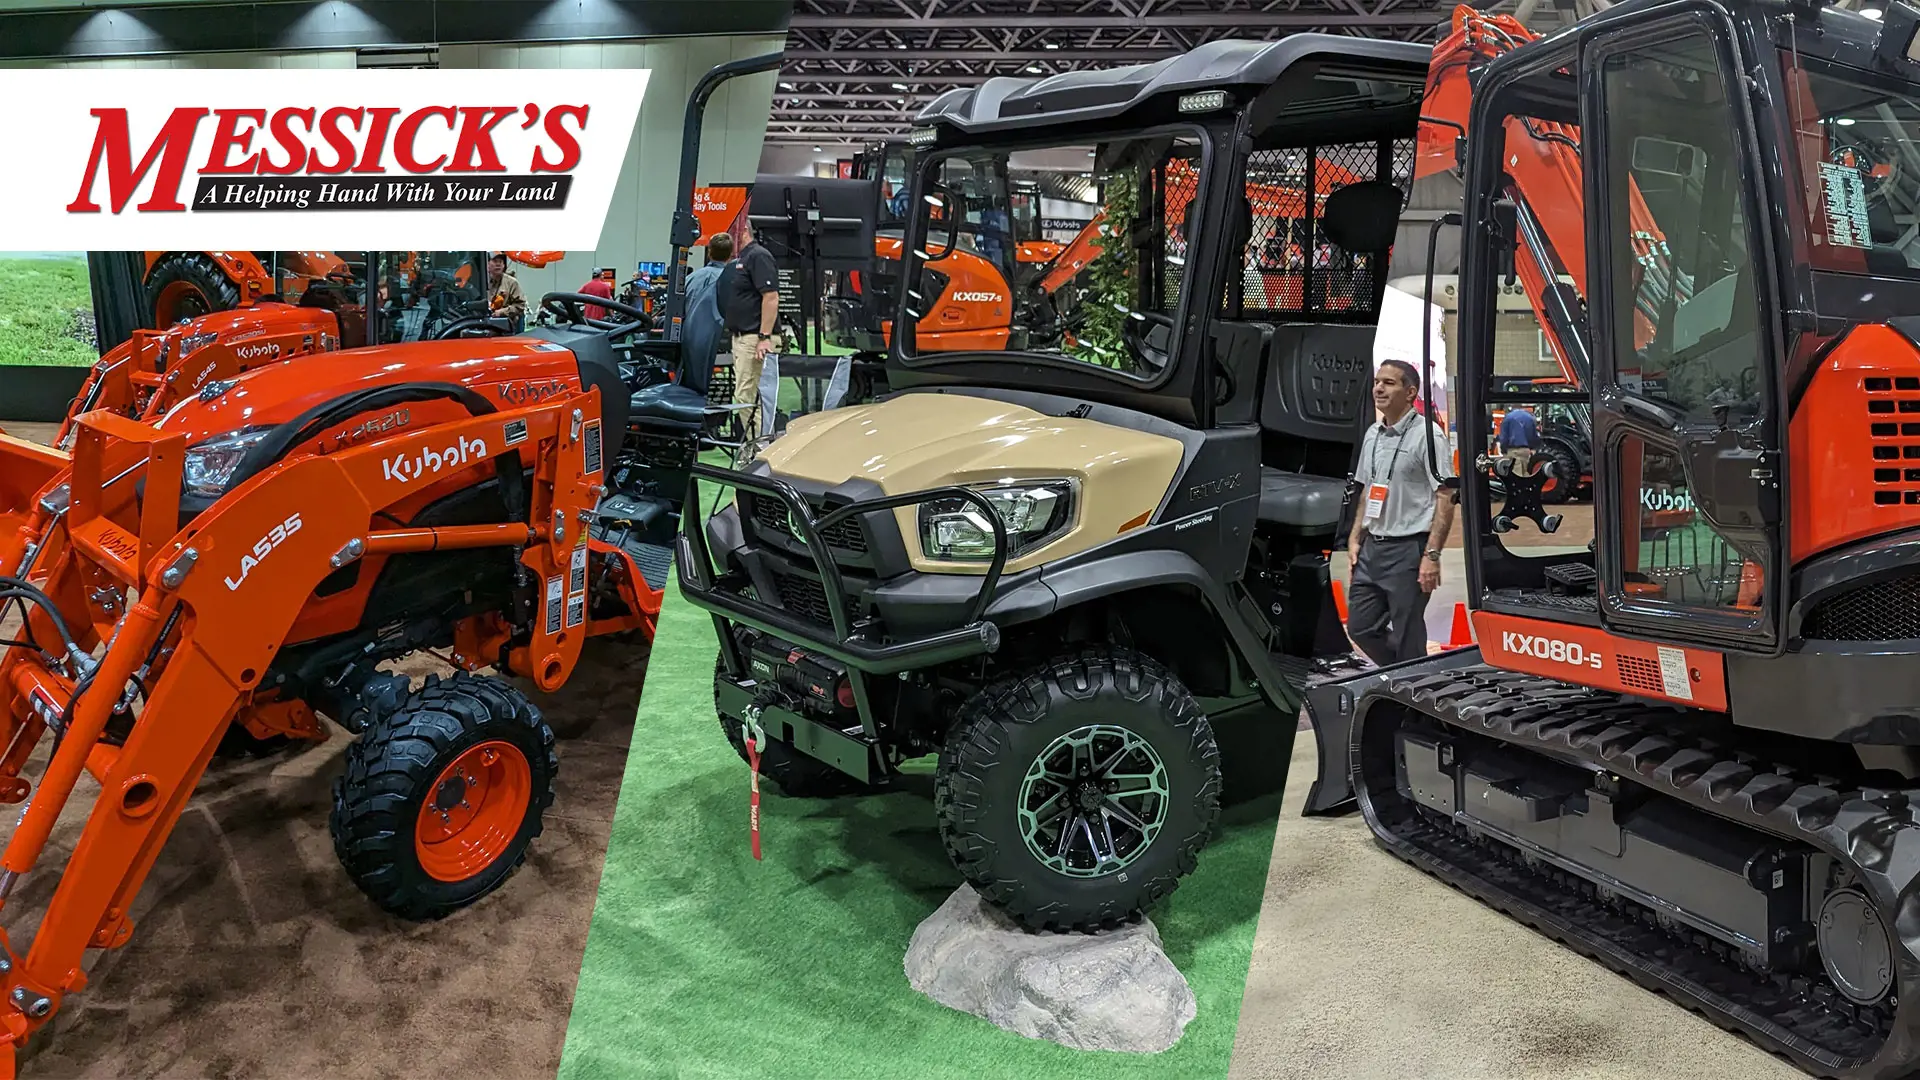
New Kubota Equipment for 2024 | LX2620, RTV-X, KX080-5

8 Loader Operation Mistakes

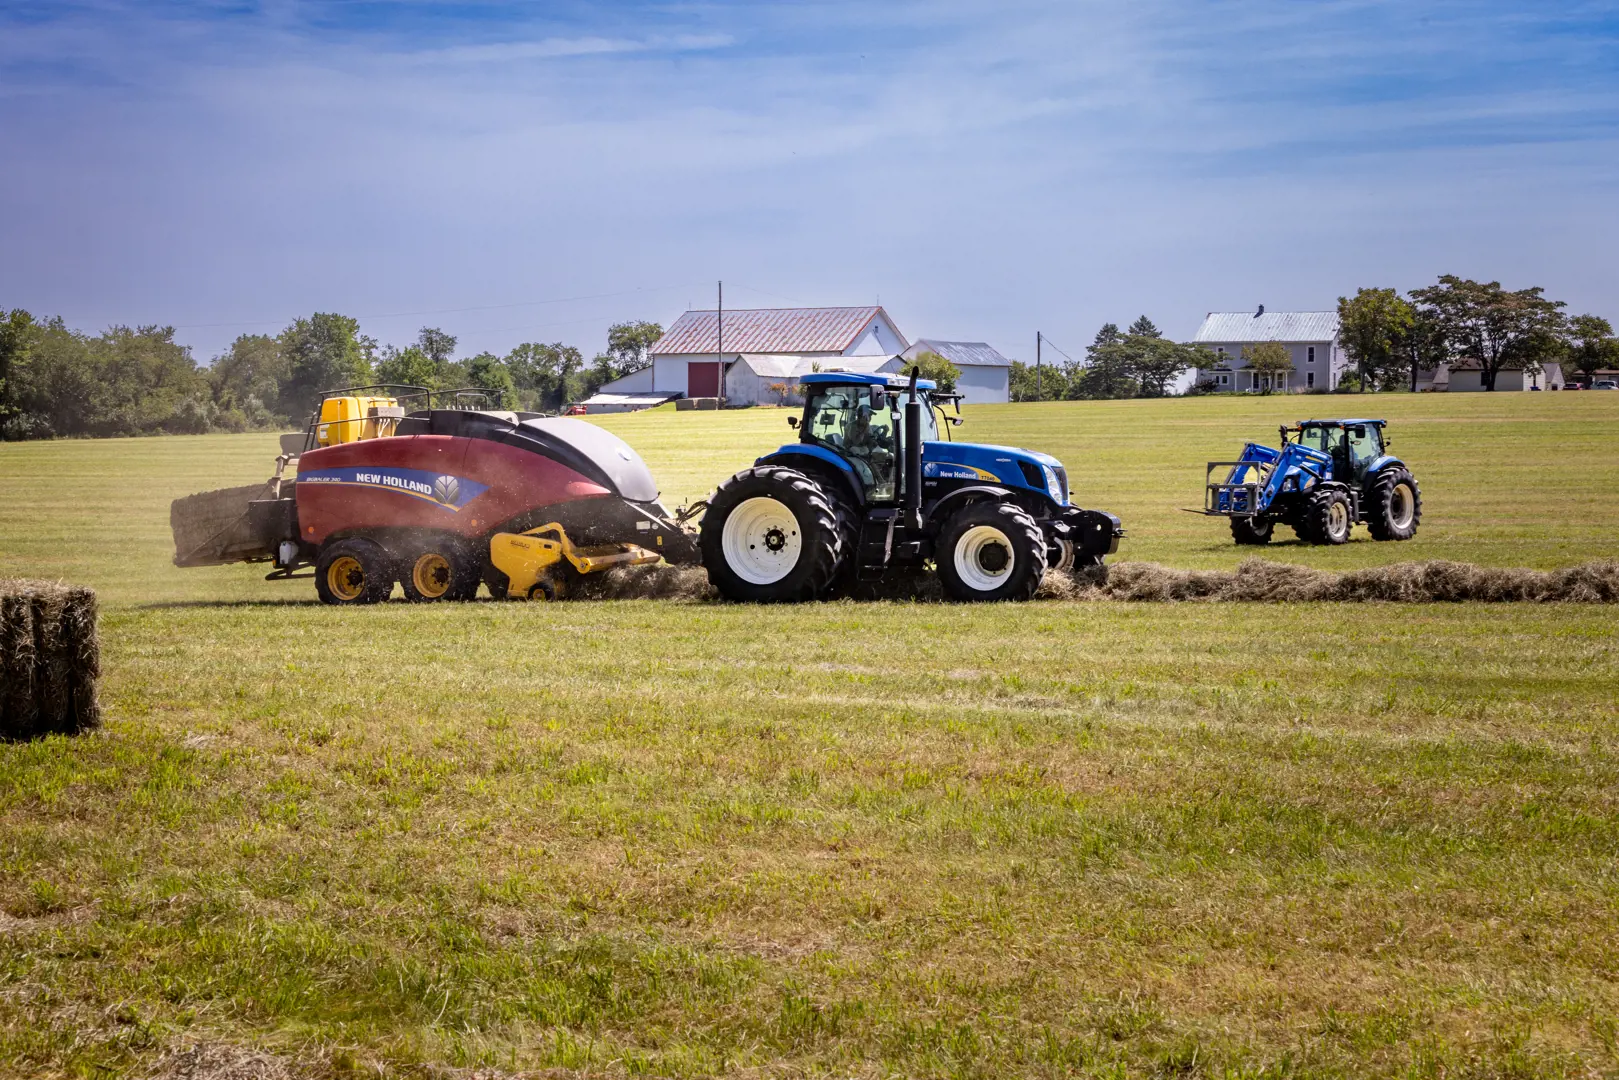
Big Bales, Less Time: How Oxbo Megers Revolutionize Hay Making
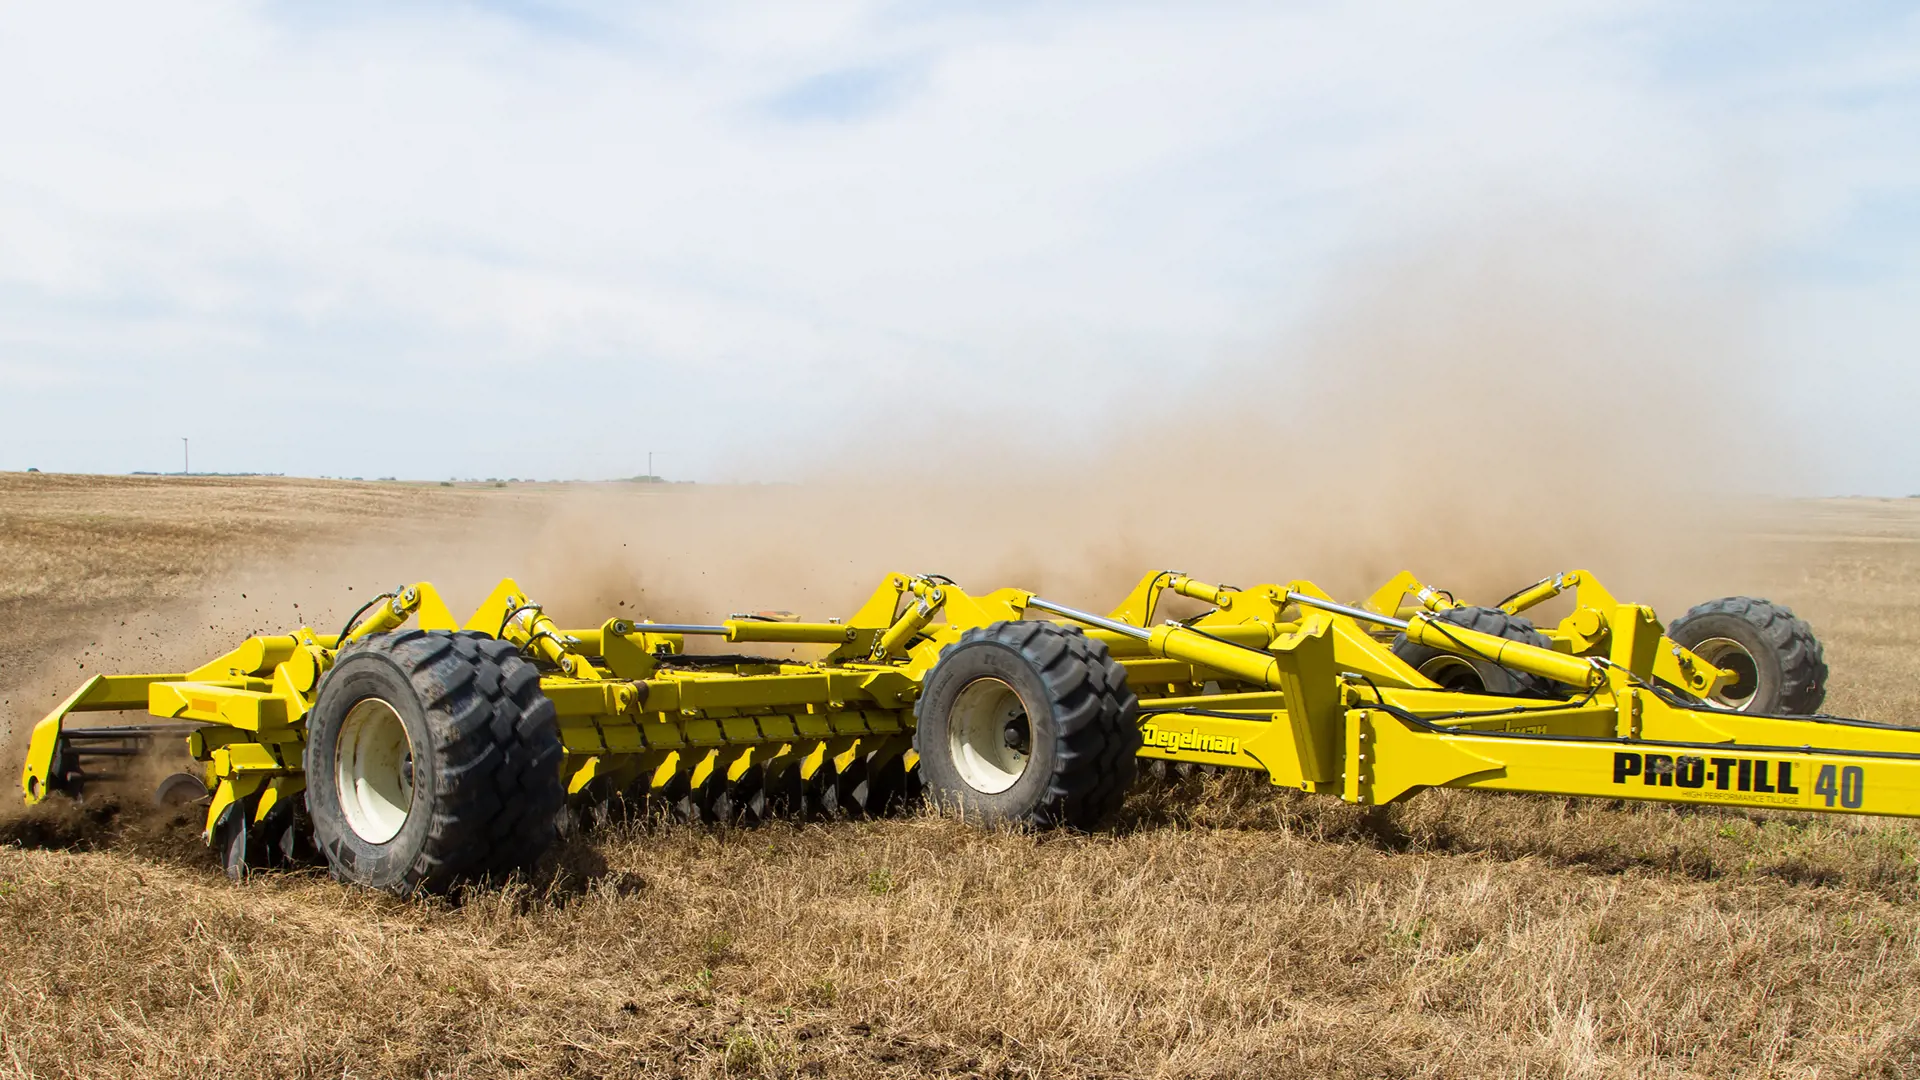
Pros Need a Pro Till
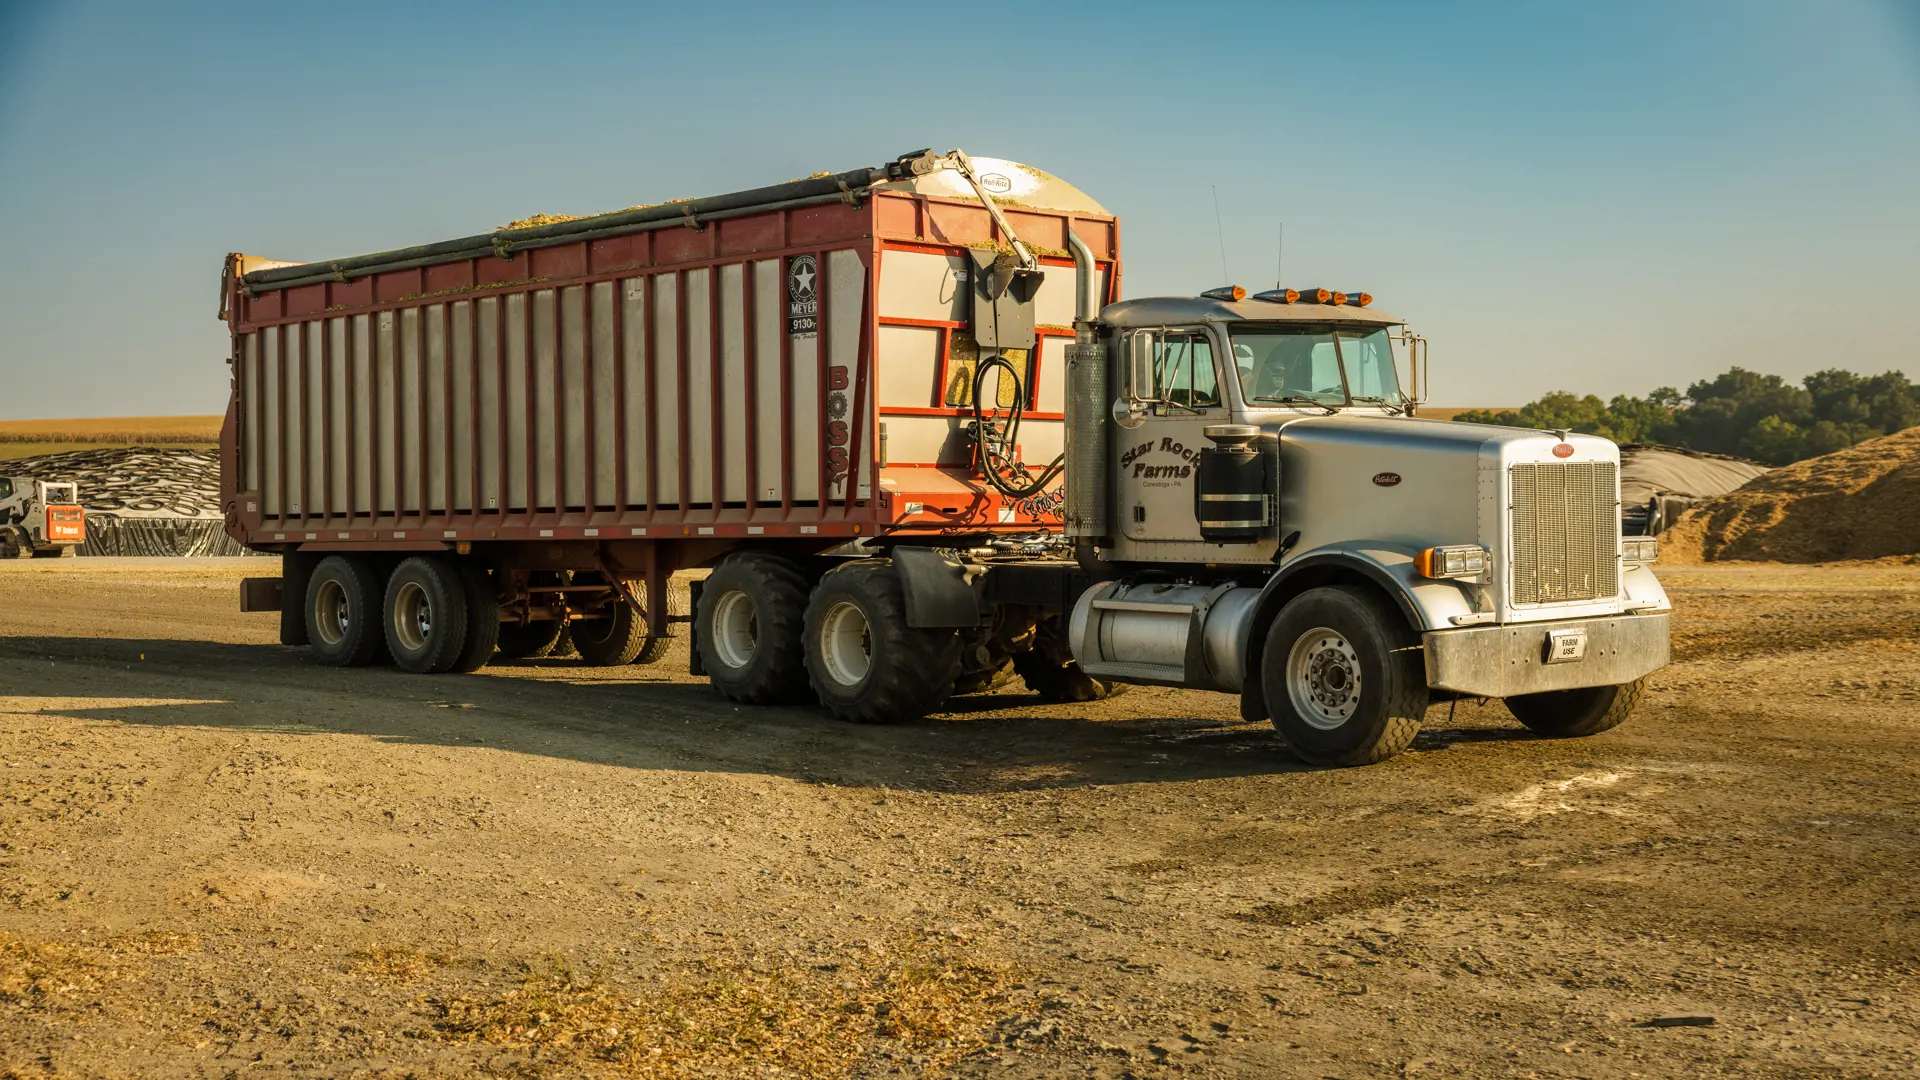
Meyer Manufacturing: Quality Farm Equipment

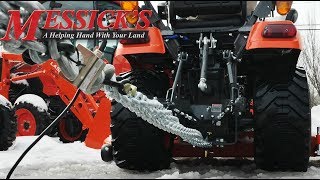
NEW Loader Storage Tubes Kubota Tool-N-Go
Penta Equipment: Transforming Agriculture
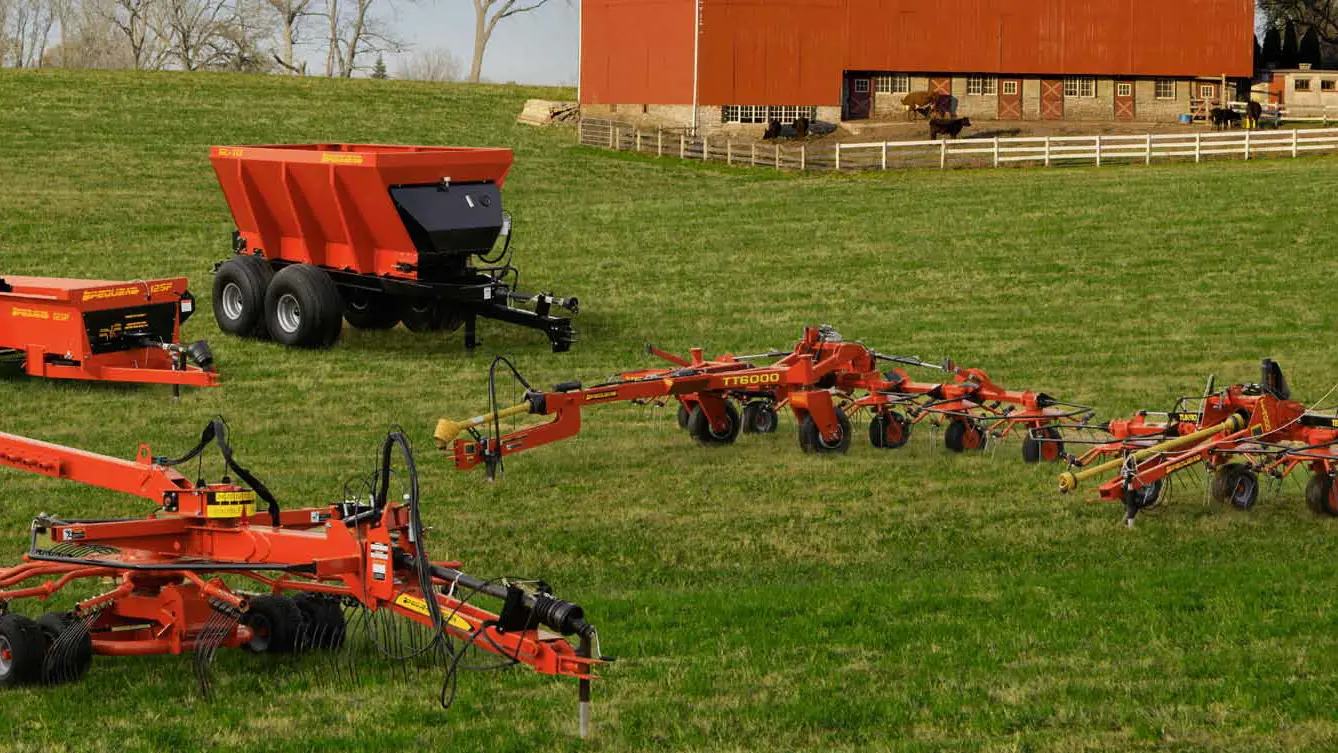
Pequea: Tradition and Progress

New Holland CR7.90 vs. CR8.90
Choosing the Right Tires
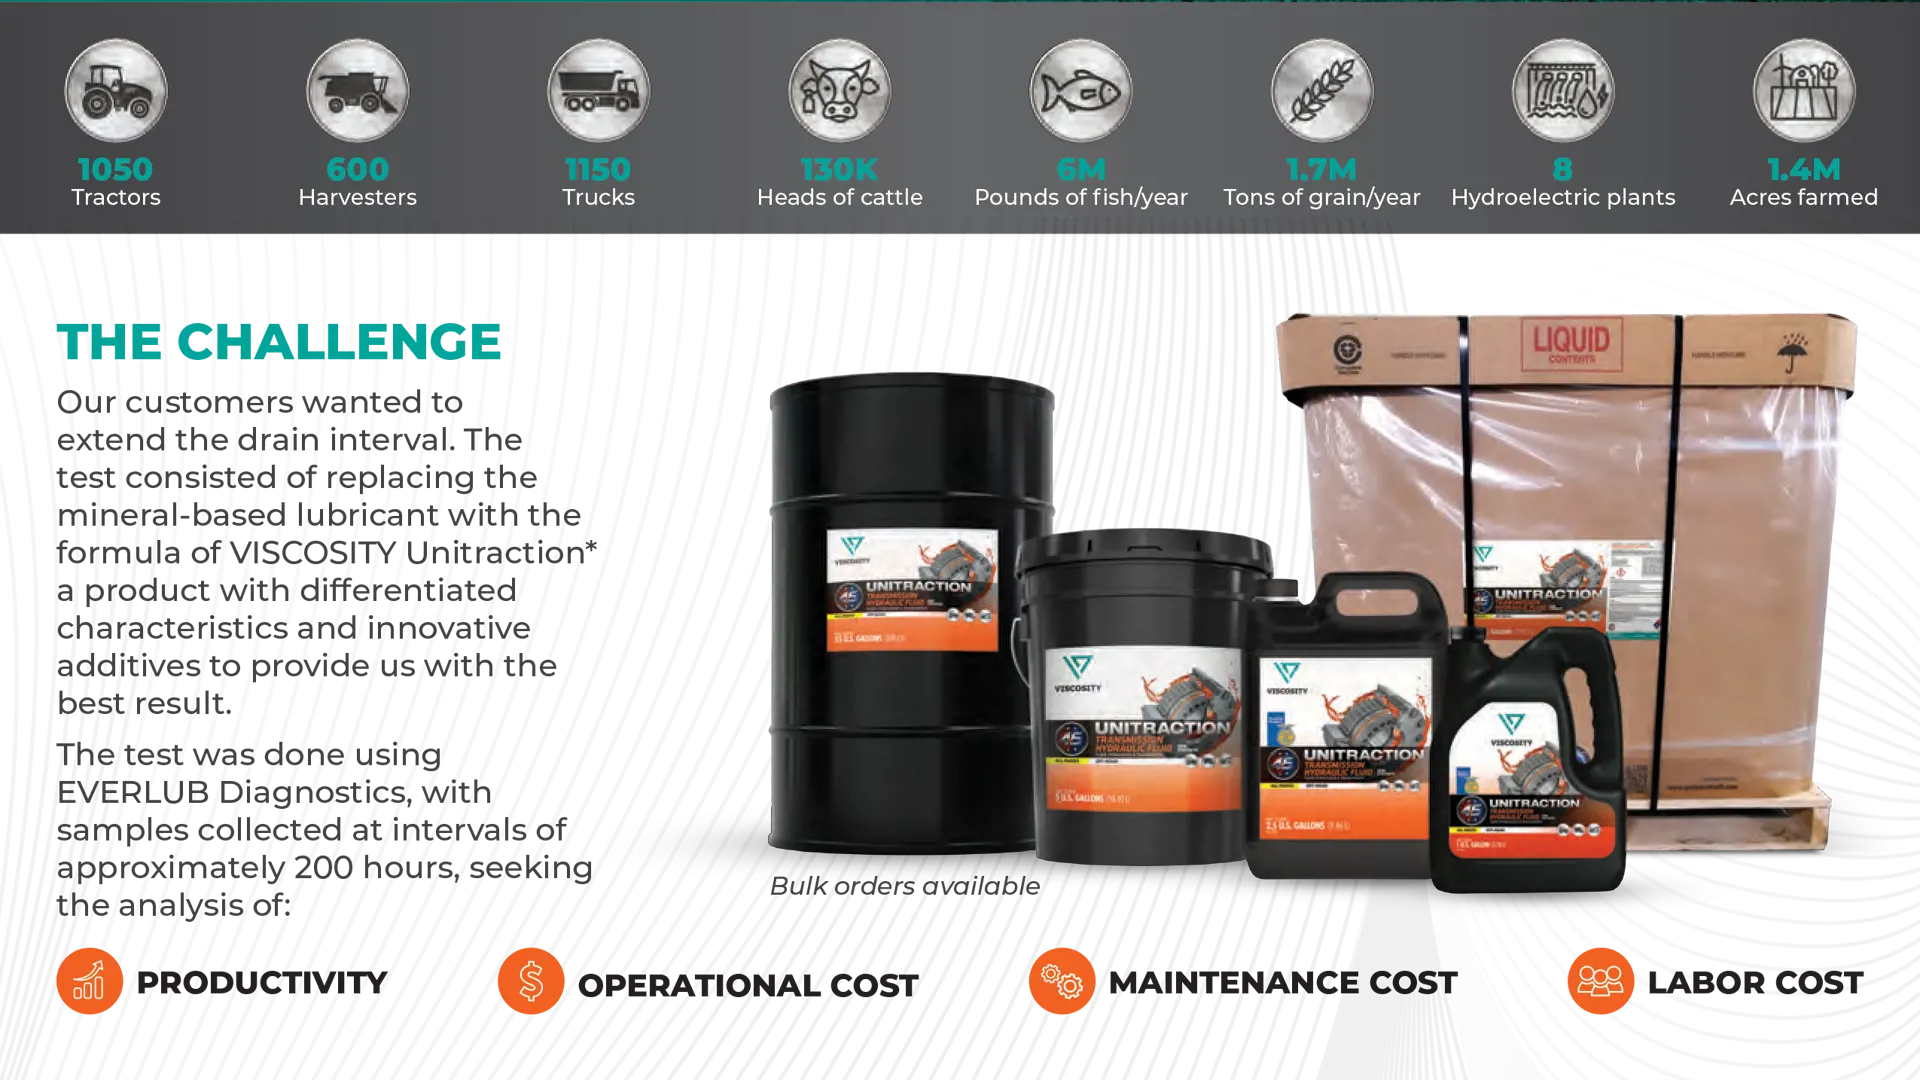
Oil Science

Day in the Life of a Parts Technician
The Value of Service
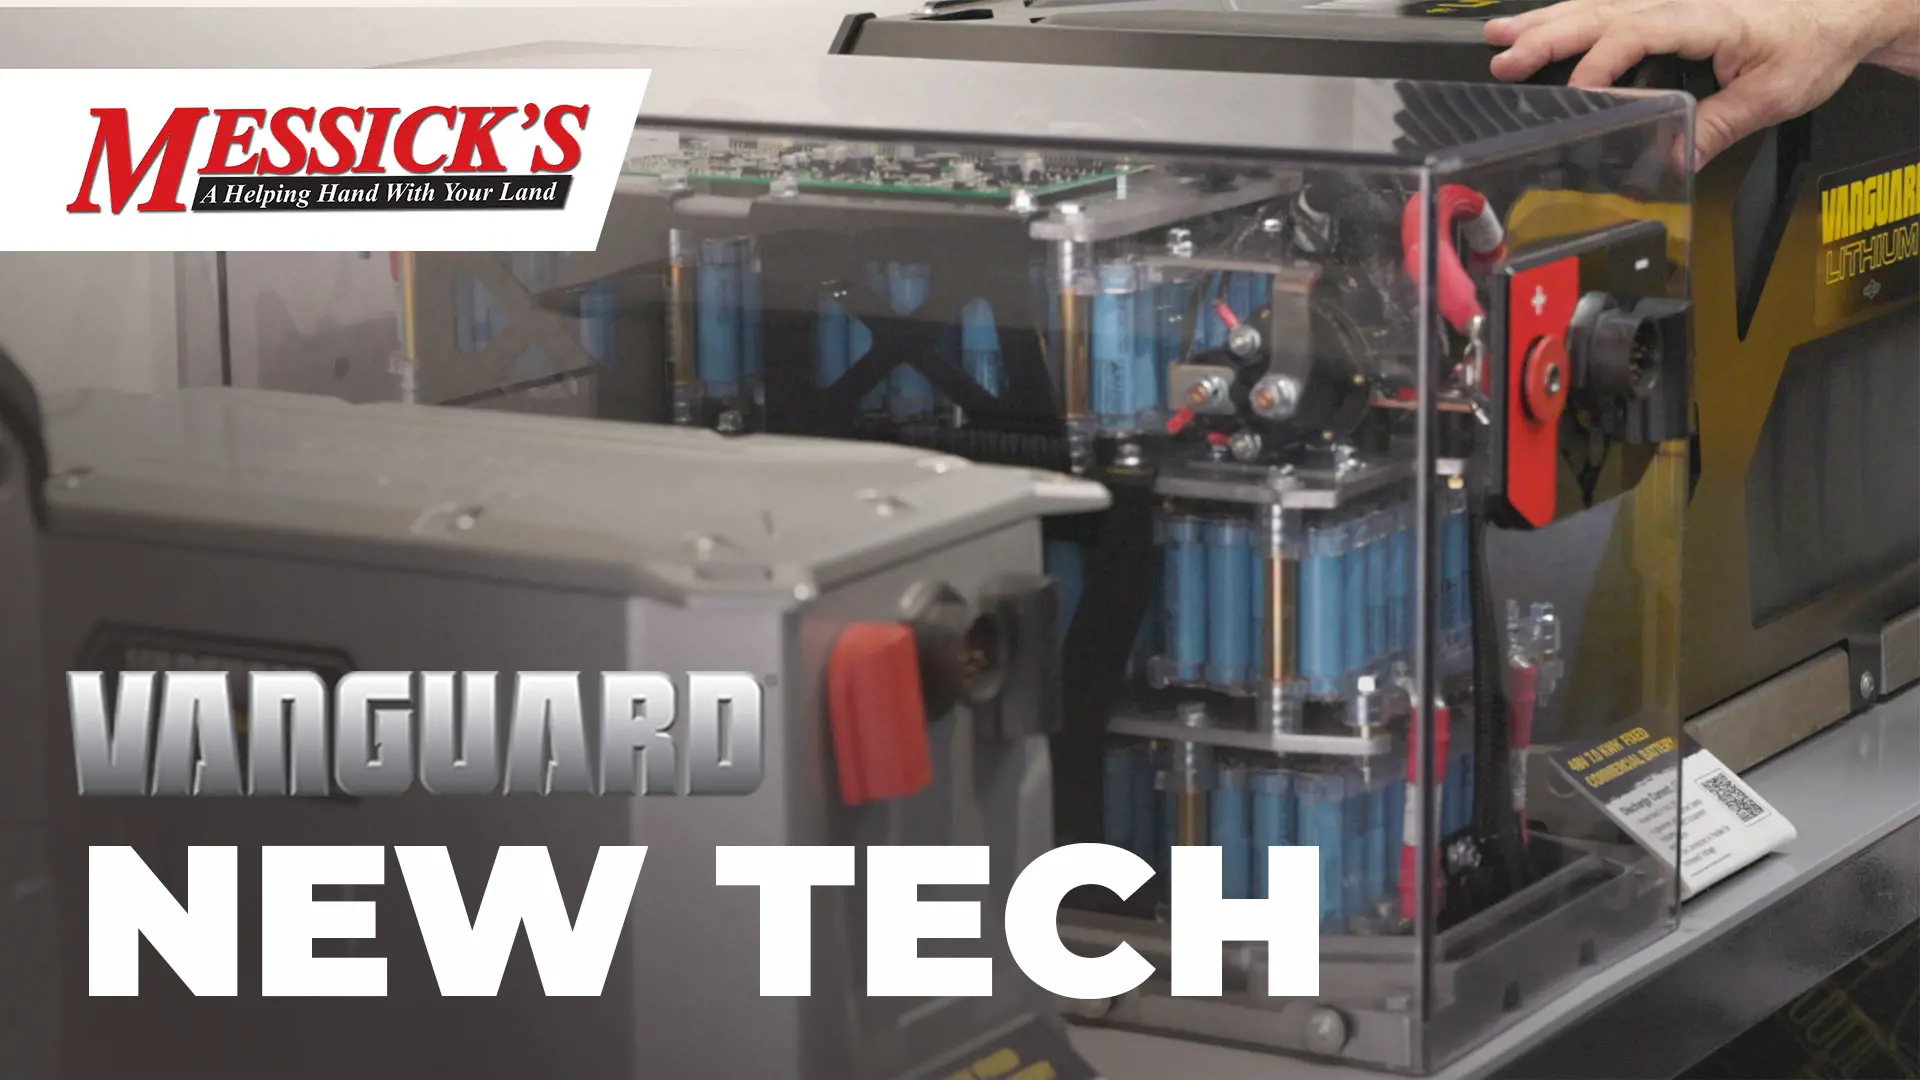
New Engine Technology from Vanguard
Follow-up: Relieving your front axle using rear ballast
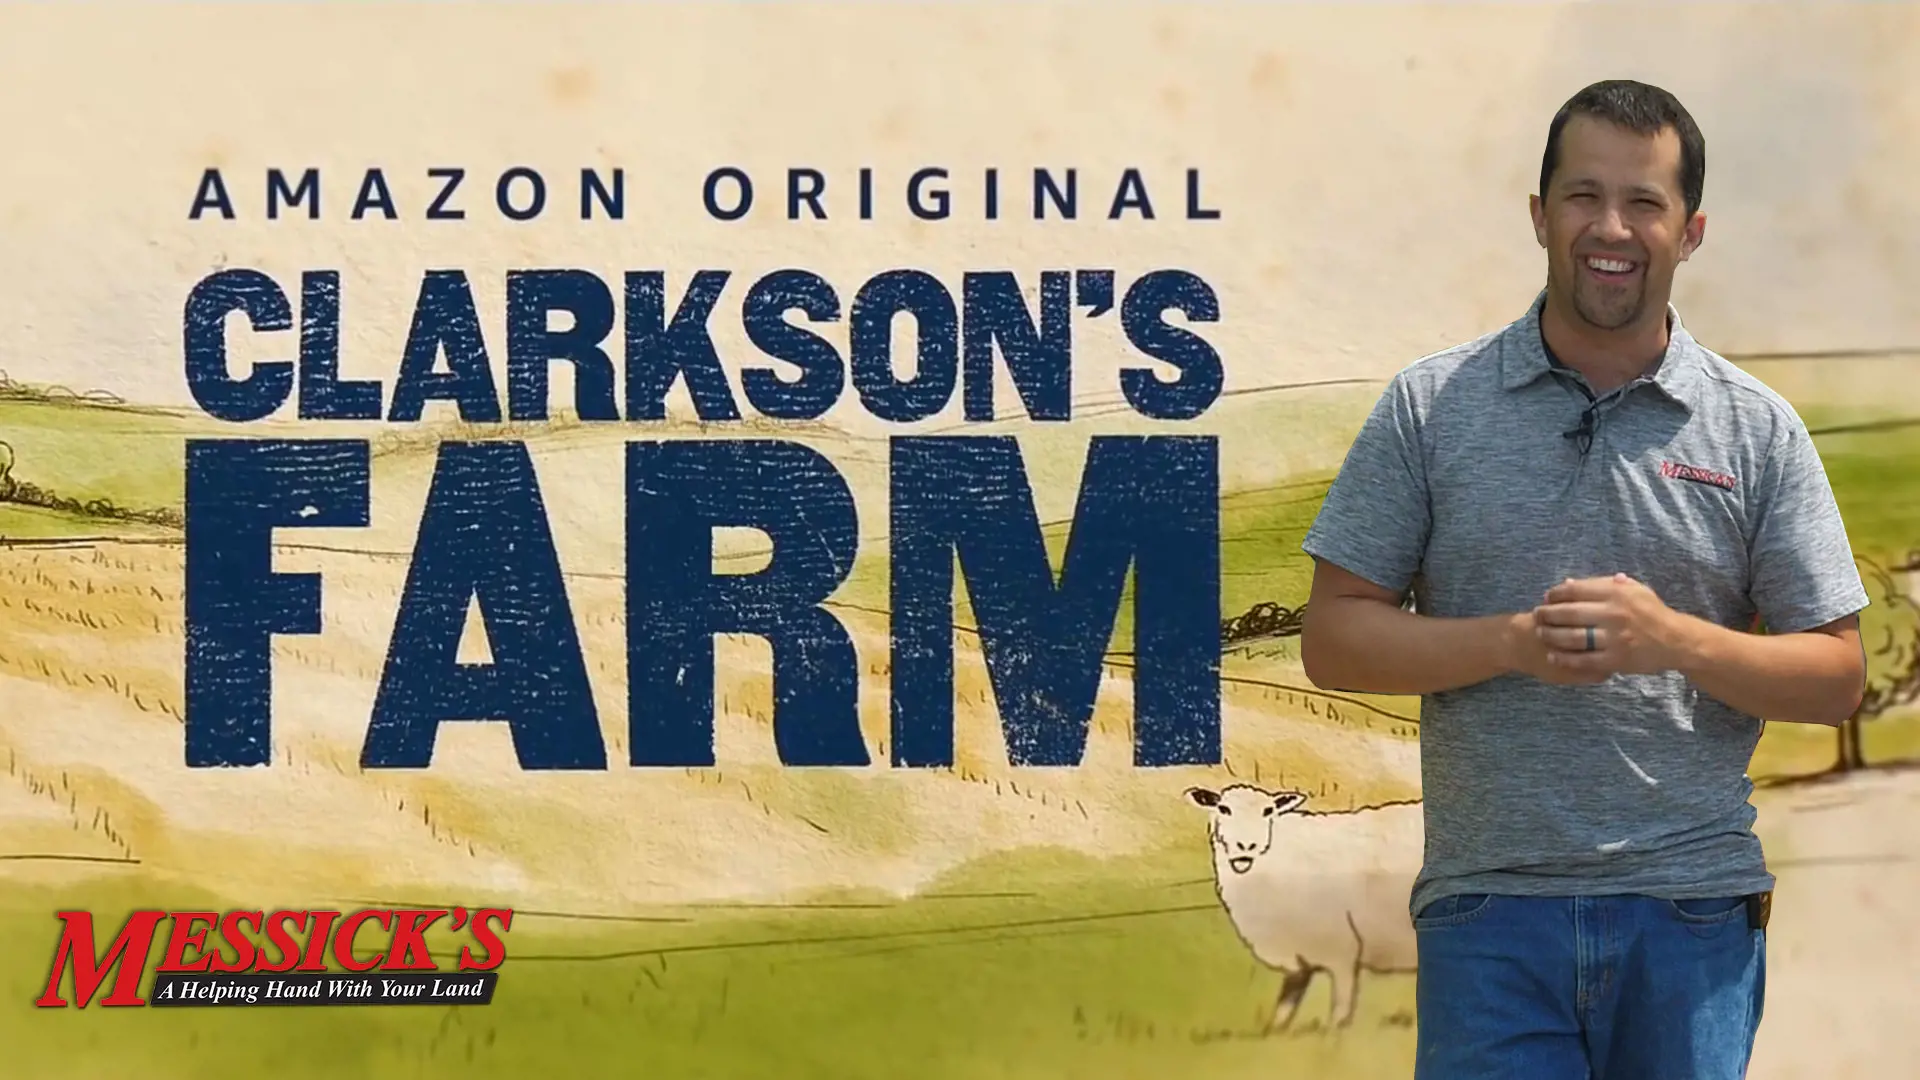
Equipment Dealer Reacts to 'Clarkson's Farm'

Are these the perfect tires? Kubota R14 tires

Weekend Projects
Financing, Insurance & Extended Warranties | Compact Tractor Buyer's Guide Part 4
Transmission Breather | Neil Answers

Decoding Kubota Serial Numbers
Online fraud with equipment and parts
Tips for Storing Equipment Outside

Science | How much fuel is wasted during regen

Loader Safety 101
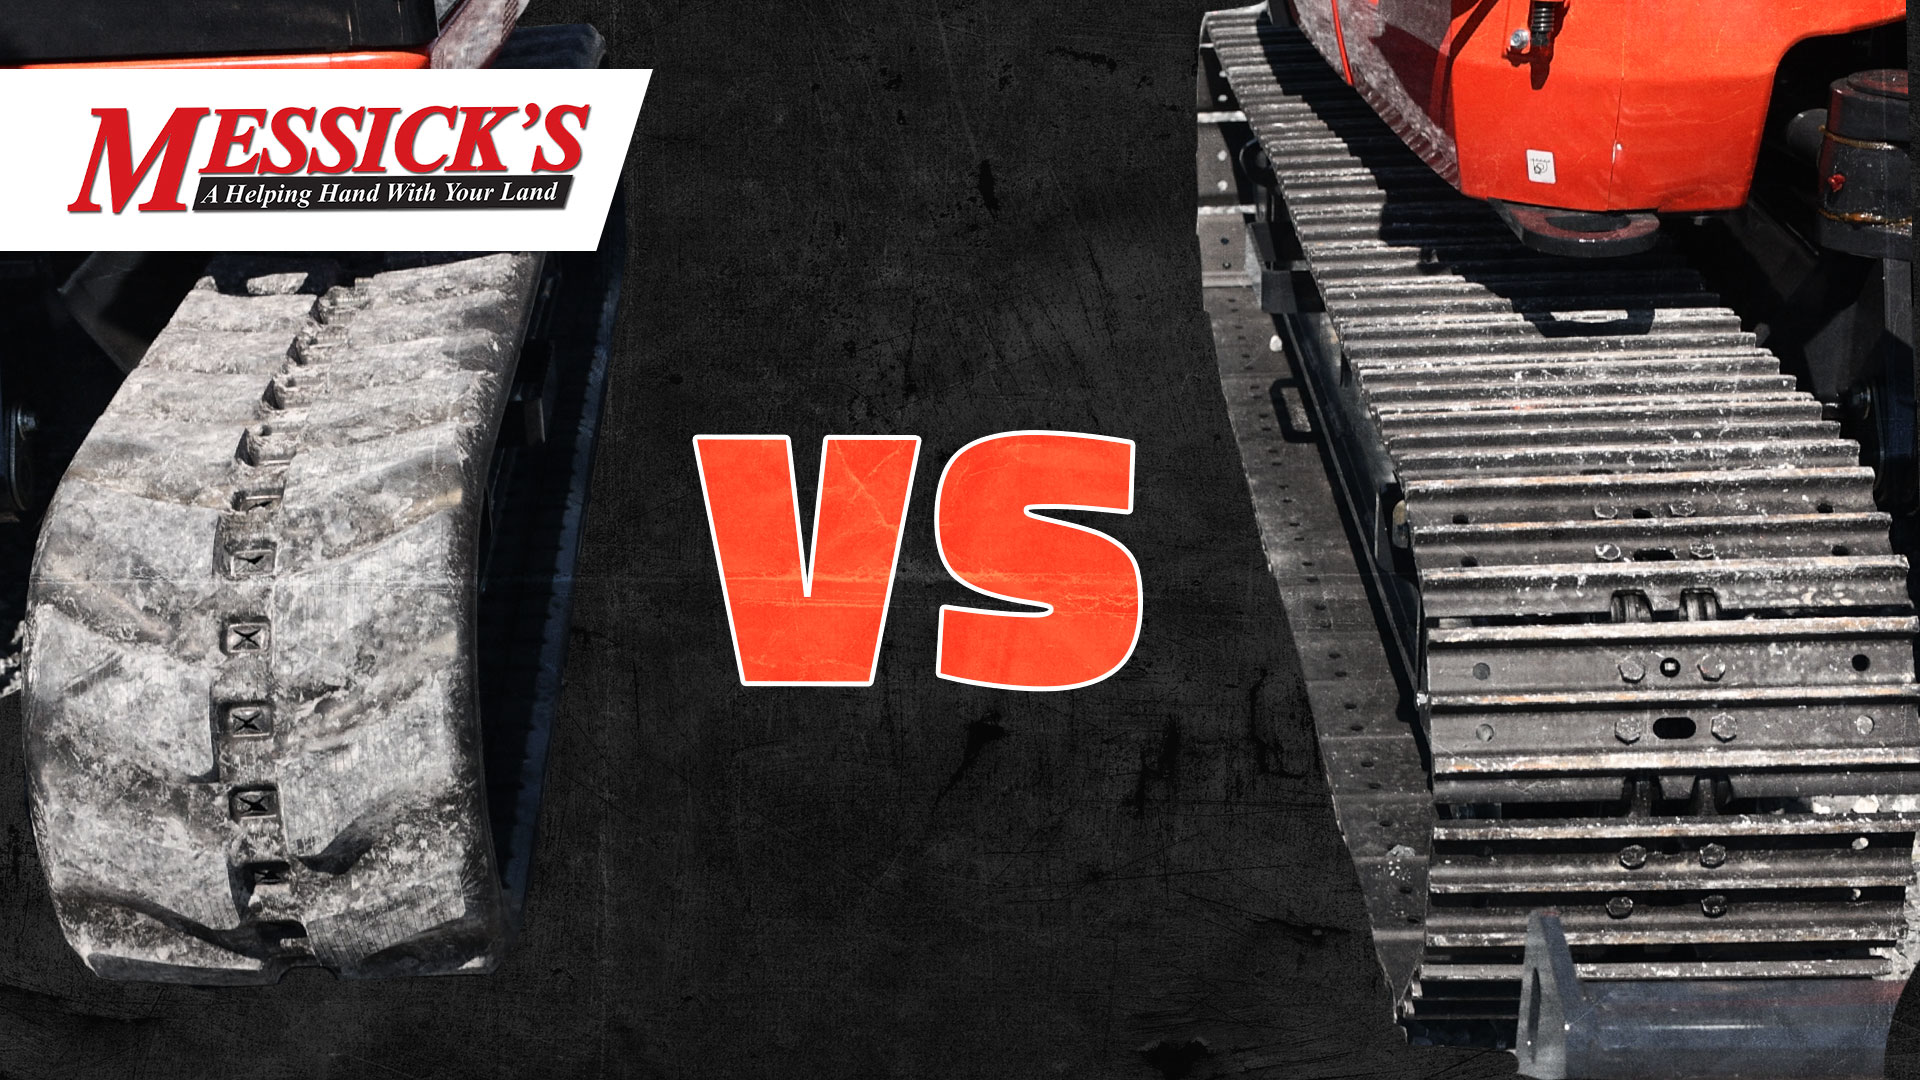
8 Differences Between Steel and Rubber Excavator Tracks
Be careful of Overfilling your Hydraulic Fluid

Hydraulic oil science. Base oils & Additives
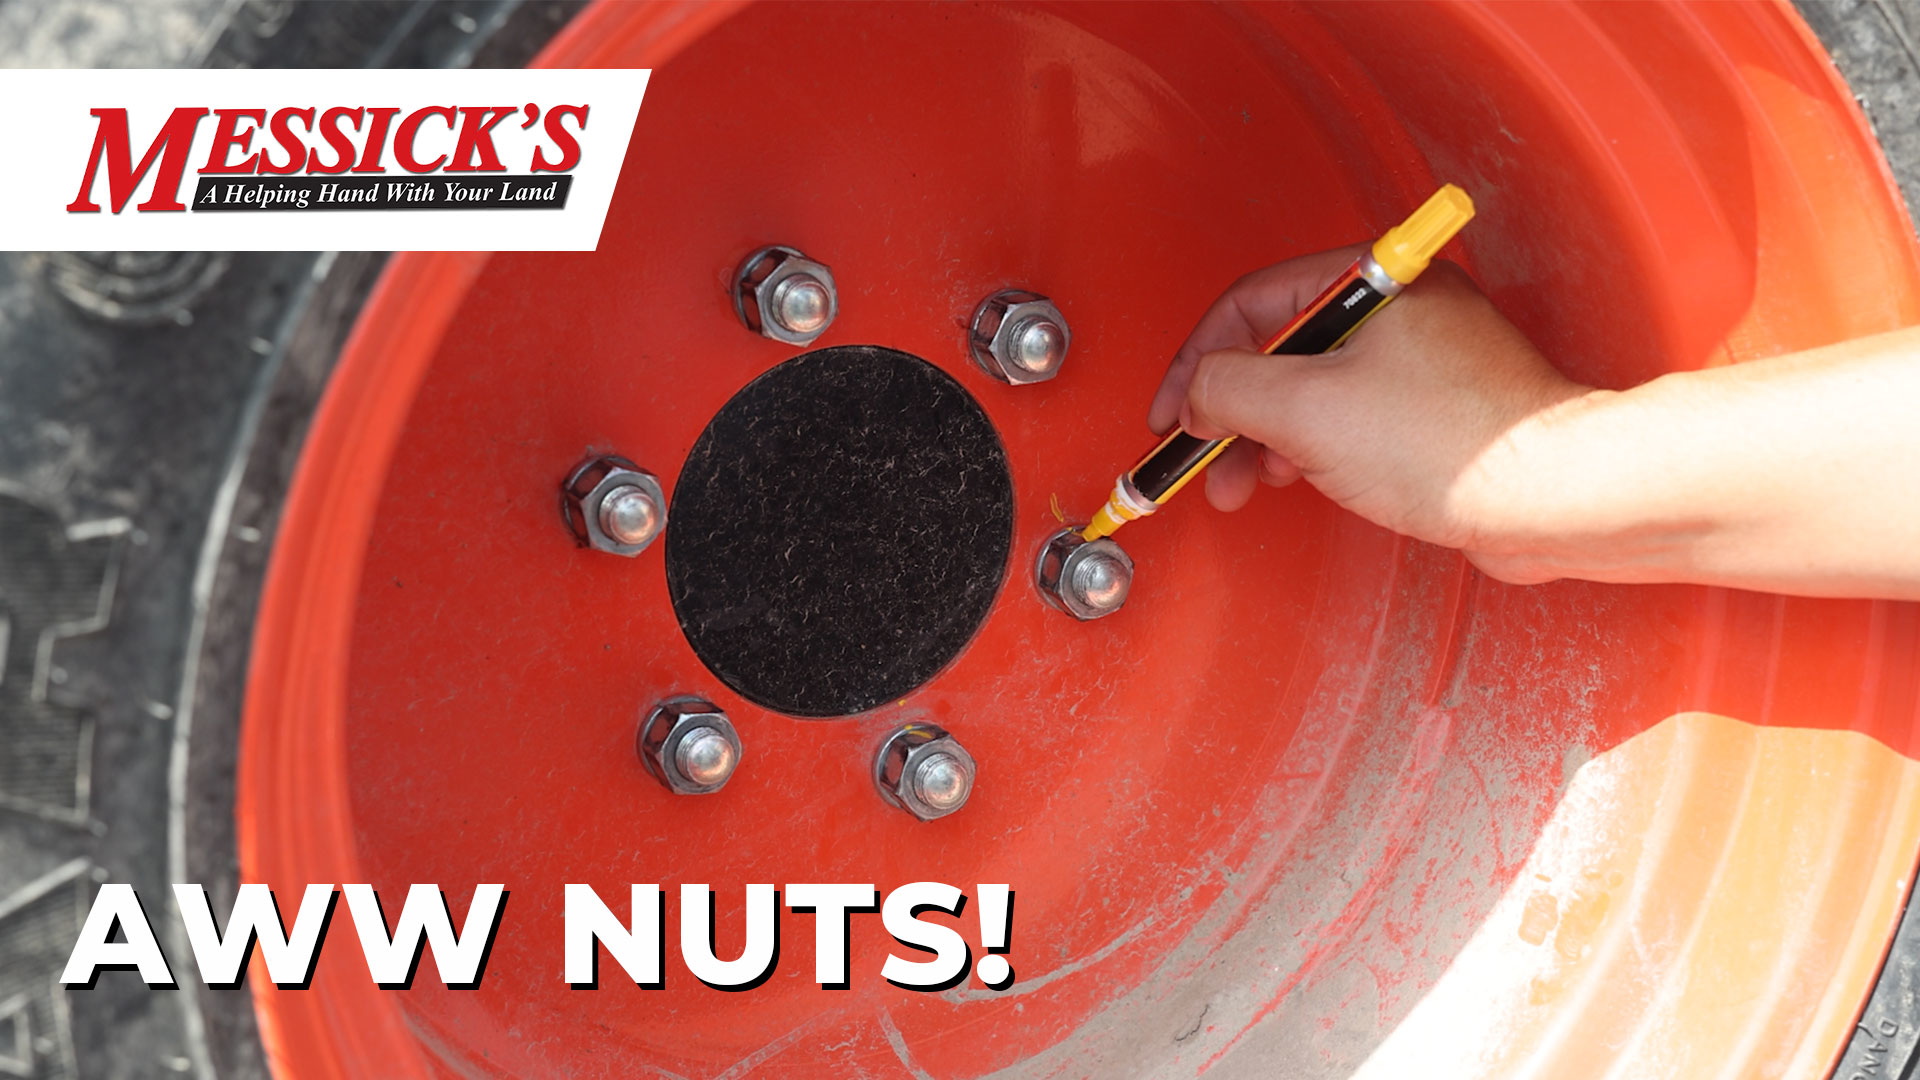
Loose nuts on a brand new tractor!

Financing a Tractor in 2023

Red Flags when Buying Equipment
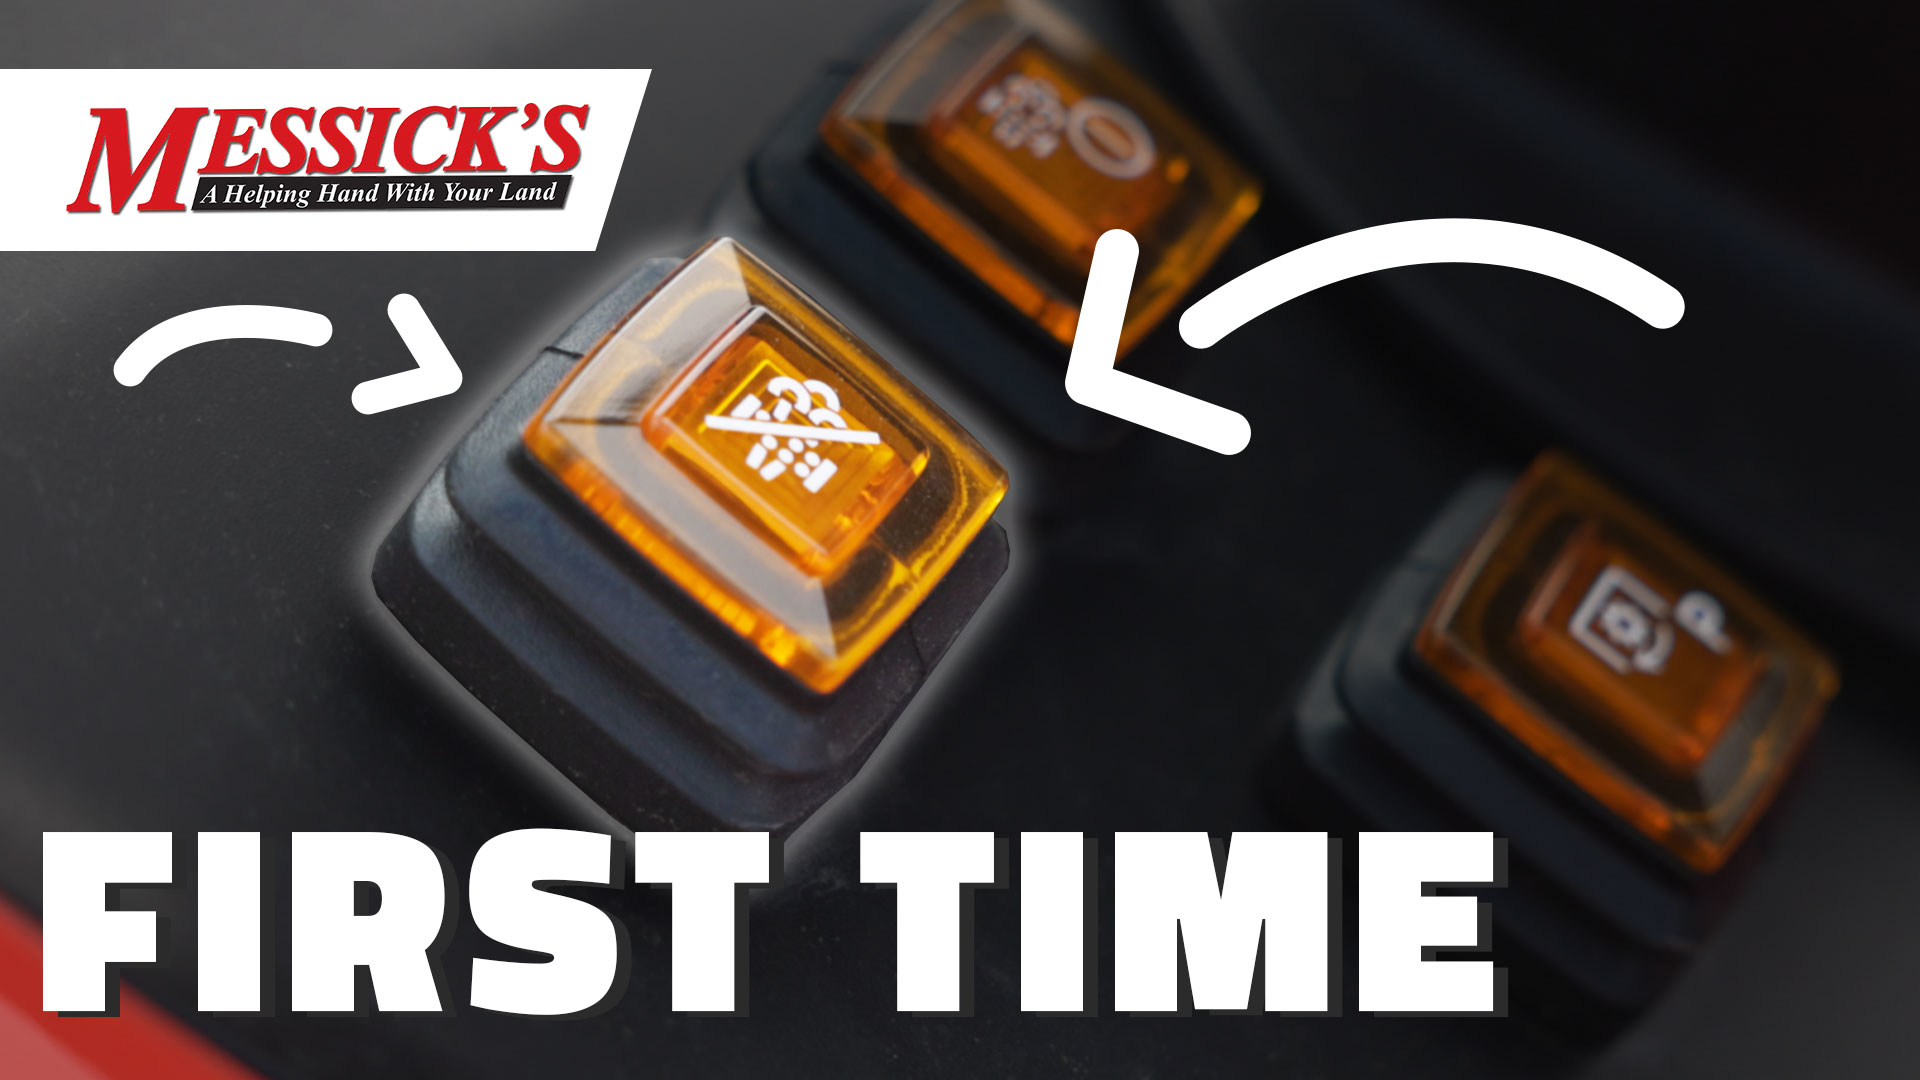
What does this button do? Regen Inhibit

Equipment Dealer Reacts to Clarkson Farm Season 2
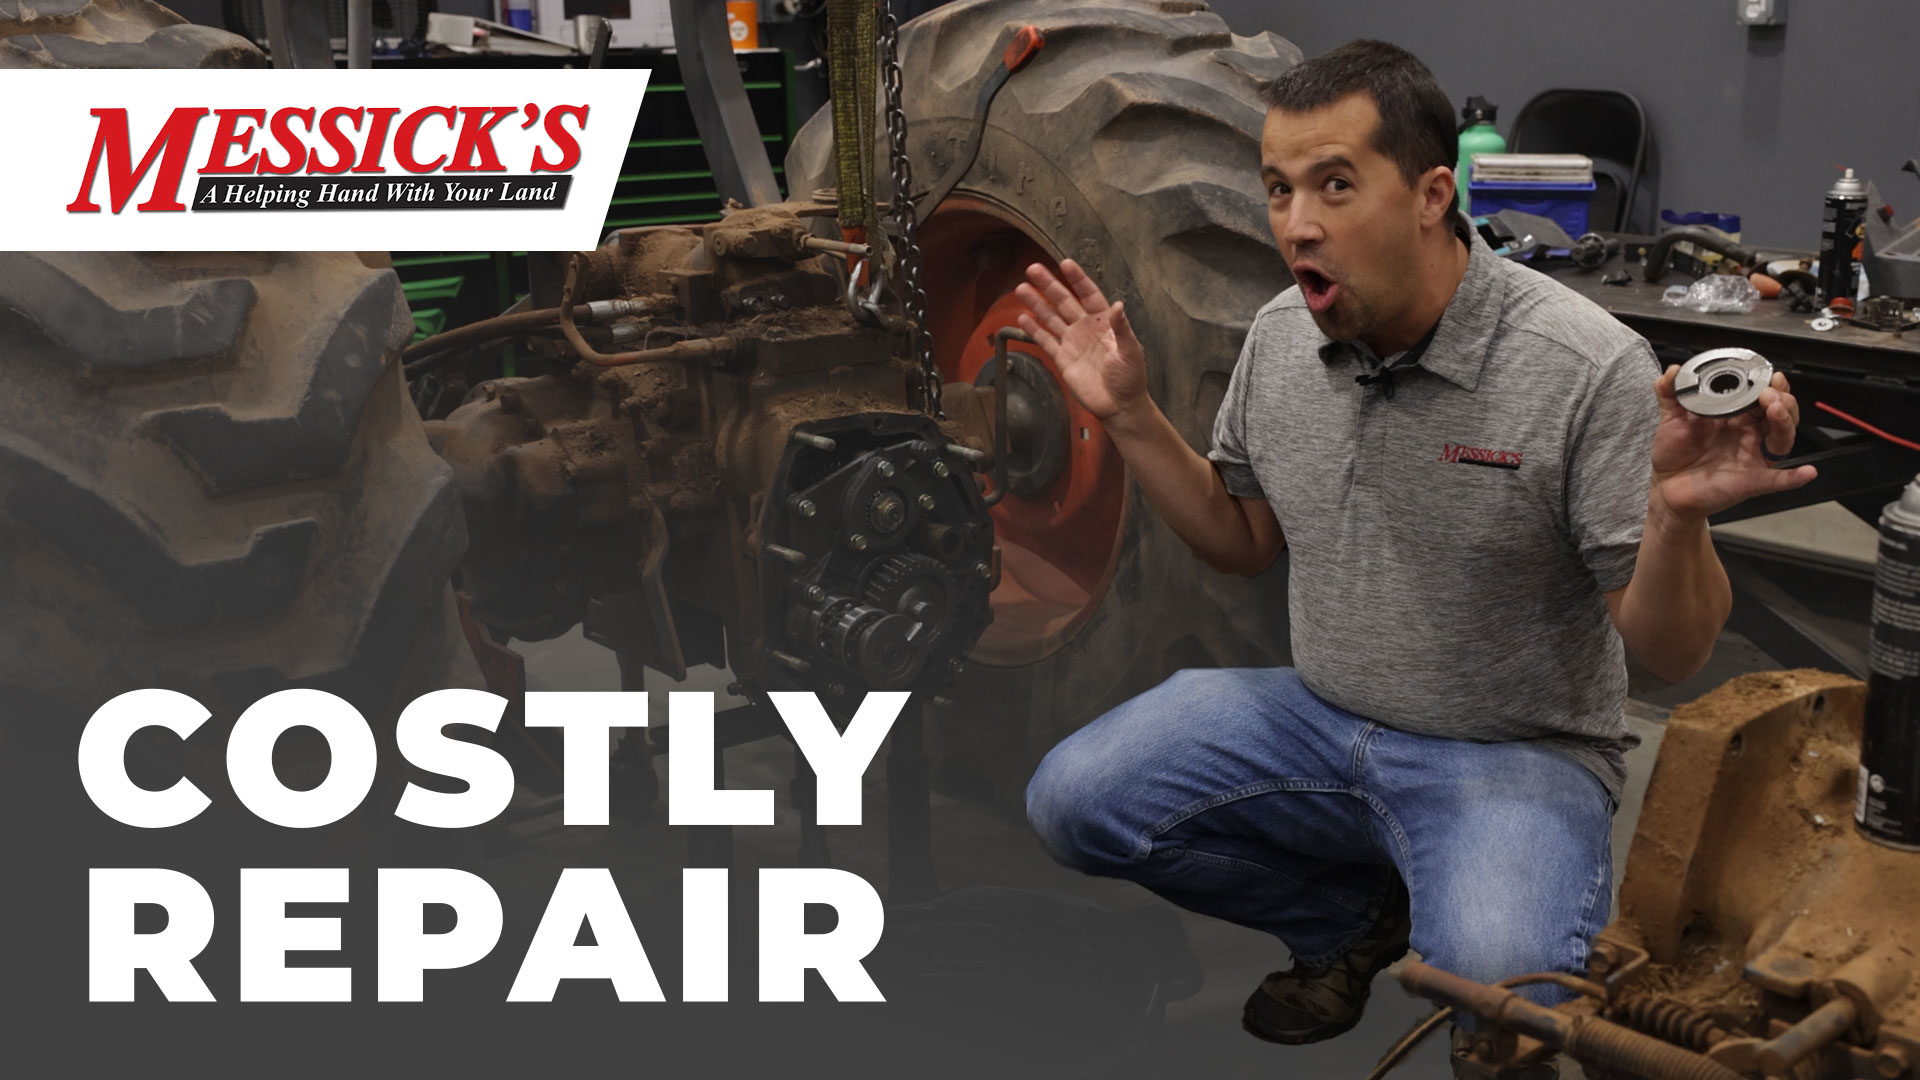
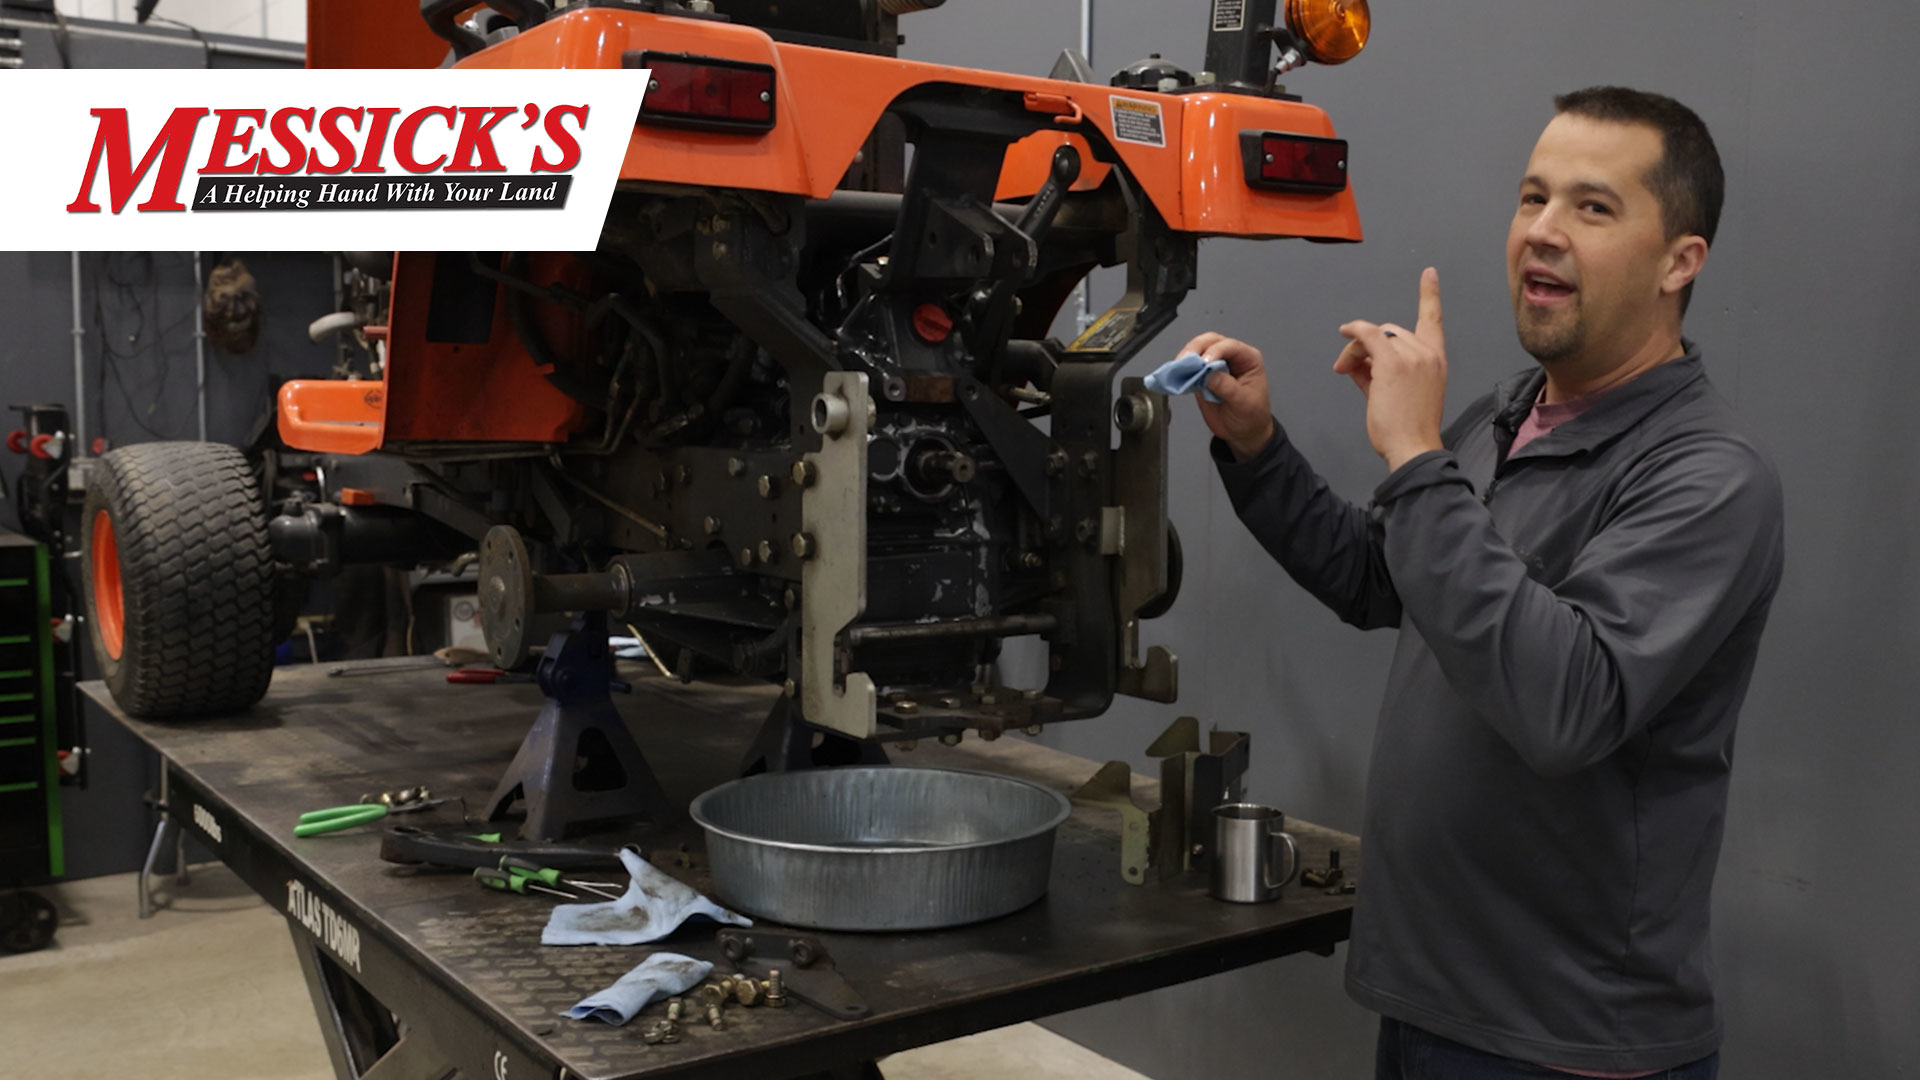
Avoiding costly PTO repairs. Clutching before engagement.
Fun Facts inside Kubota's Grand L-Series Transmission
How to avoid this painful mistake when removing your bucket

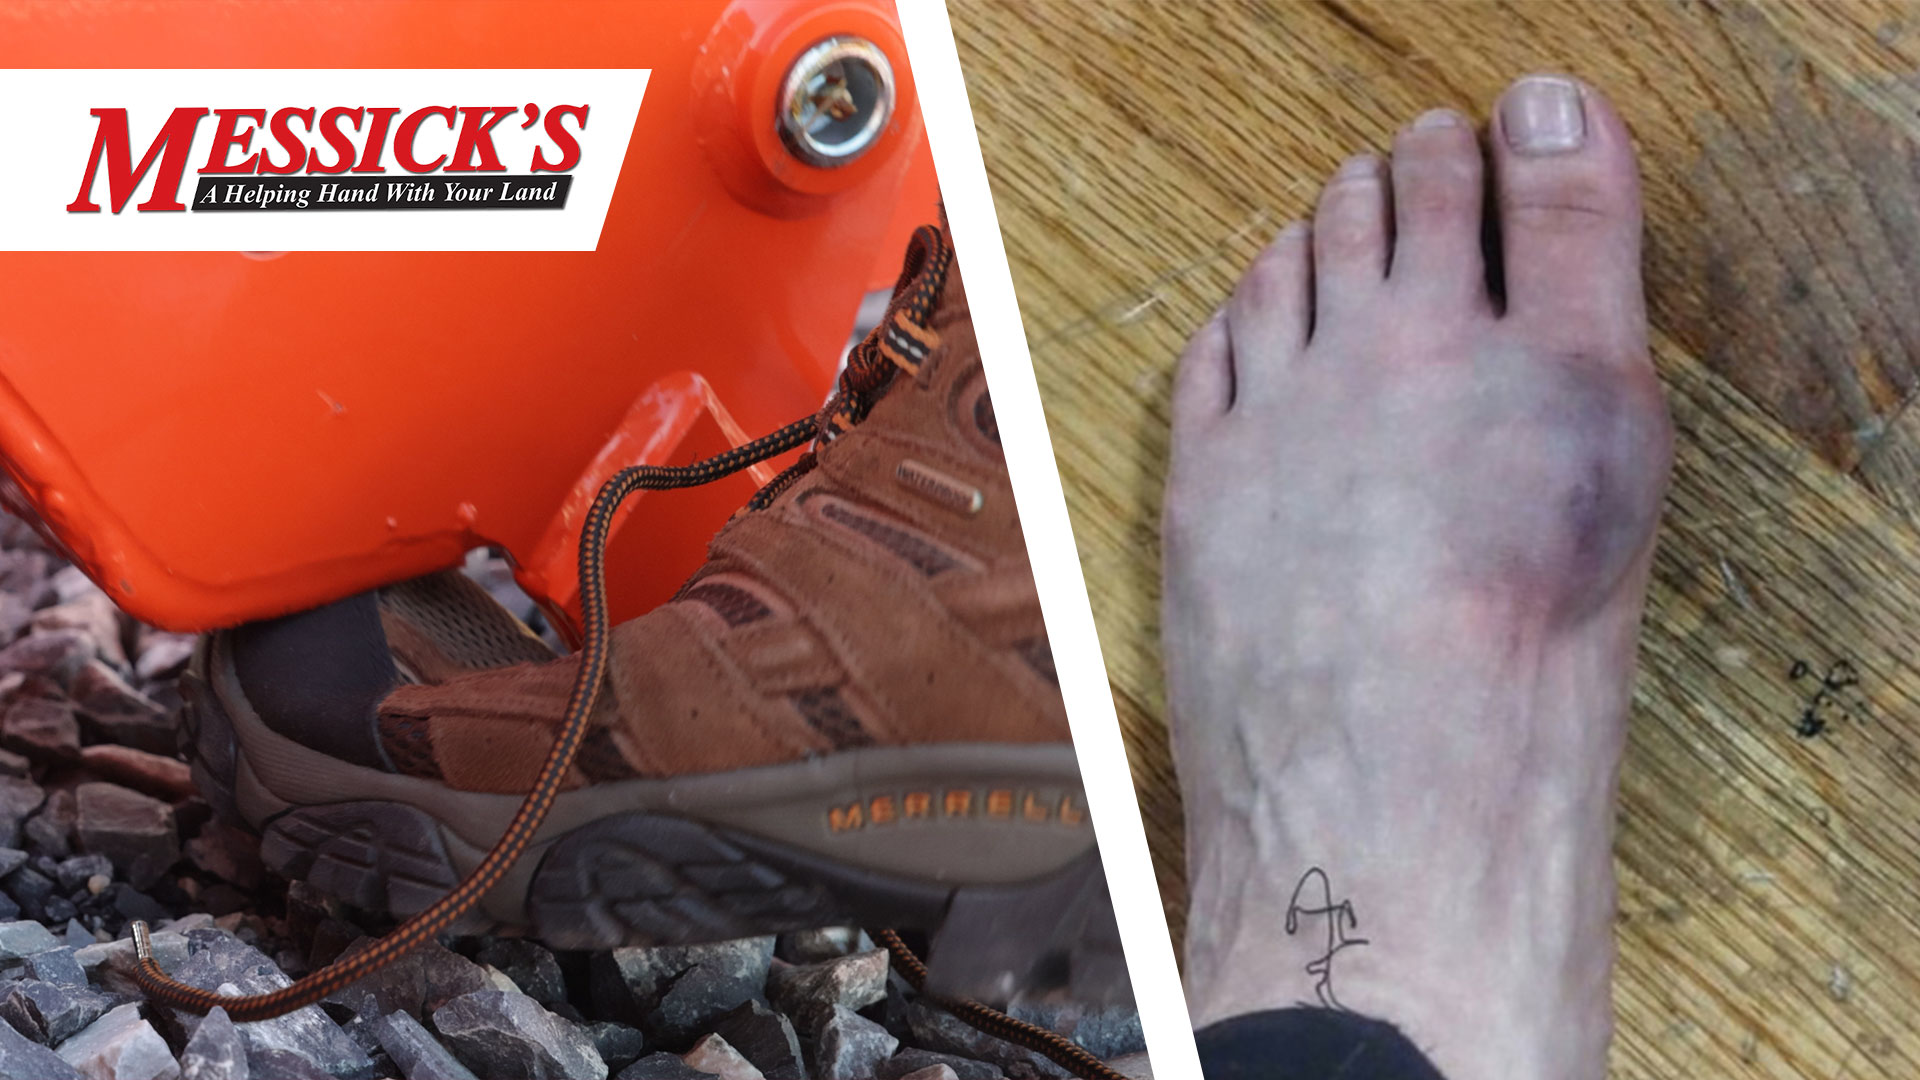
Injured in the Farm | Kevin Bailey

I broke It. Kubota SSV front glass replacement.

Tips for Installing Work Lights
Skid Steer Quick Coupler Attachment Tips

Kubota M Series Third Function Kit Neil Answers

Messick's 60,000 sqft Service Shop New Mt Joy Shop Tour
What to Expect at Drop-Off Kubota LX3310 Delivery and Walk Around

Loader operation tips and landscaping finishing with the SCL1000 and LX3310

3 Different Types of PTO Yokes

My kids put gas in my diesel tank! Now what do I do

Regen PANIC. Live tractor regen process explanation and buttons.

36 Implements for Your Equipment
How to Safely Mow a Hill

Cold Brew Fuel Strainer for Your Equipment
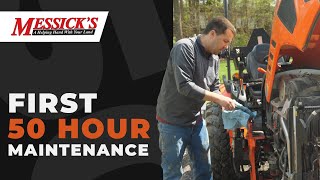
Kubota 50 Hour Maintenance on LX3310

Filter Analysis Cutting into First 50hr Filters Three Minute Thursday
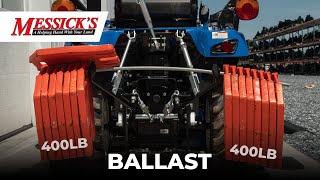
Science! The relationship of Ballast and Weight Distribution.
Top 10 Equipment Purchase Myths
Split Brakes | How they work, and when to use them
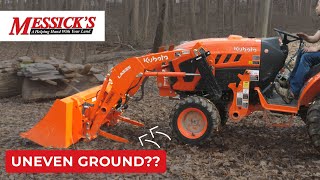
How to attach and remove a loader on uneven ground
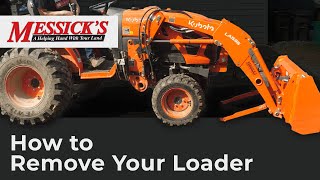
How to Remove Your Tractor's Loader

What adjustments can you make to your three point hitch?
Tips for Installing Work Lights

How to Relieve Hydraulic Line Pressure

Understanding PTO | What is it? How does it work? What types are there?

Tractor with a BLOWN engine! Engine Failure Analysis
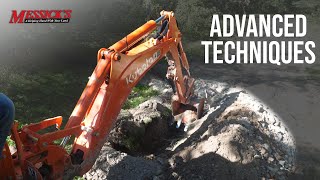
Advanced Backhoe Technique

How to Put a Flat Tire Back on the Rim

What to do when you run out of fuel?
TESTED | How the wrong implement affects your lift capacity

New tractor owner ORIENTATION VIDEO

Is there a proper engine RPM for loader work?

How NOT to break your loader while back dragging

CUTTING MORE OIL FILTERS - Case/New Holland VS. STP

Tips for loading and hauling your equipment

How to REMOVE AND INSTALL KUBOTA BX SERIES mower deck
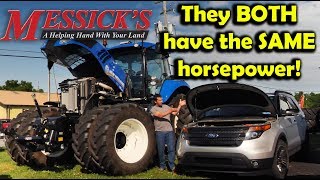
HORSEPOWER VS TORQUE - New Holland T8.420 vs A Ford Explorer???

6 Tips to prevent emissions system trouble

How to make your equipment last.

A hydraulic fluid so bad, its been banned!

*New* Tractor Tire Option. R14 from Goodyear \ Titan Tire

TESTED - Surprising traction differences between R4 \\ R14 \\ Bar-Turf
TESTED - Turf VS. R4 - Snow Traction
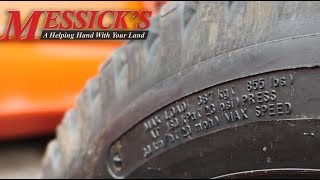
Tractor Tire Inflation Tips

Common Operation Mistakes with Loaders on Tractors

Avoid Amazon and SAVE money on equipment parts

Kubota BX-Series 3pt hitch installation

TOP 5 BEST Accessories for your Tractor

Understanding Tractor Horsepower. Gross \ Net \ PTO \ Drawbar

Who Would Buy A 2WD Tractor?

Unexpected uses for a 3 point quick hitch | LandPride QH05

Get your Tractor out of the mud using your Front Loader

How to Level a Mower Deck

Choosing The Right Skid Loader Bucket
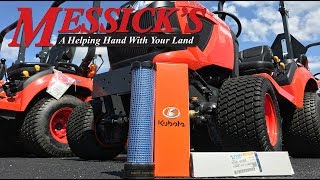
Secondary or Safety Air Filters on Kubota Engines. Specific to BX and Standard L-Series
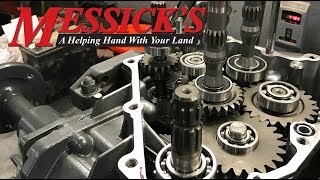
Kubota BX-series Transmission A Look Inside

Understanding Three Point Hitch Classes

5 Most Common Compact Tractor Attachments

MSRP vs retail pricing. How do you know whats a good deal

Shady Internet Tractor Package Deals

The WORST MISTAKE a new tractor owner can make (modding ROPS)
New Holland WorkMaster Safety, Operation Service
Understanding rear hydraulic remotes
Tractor Package Deals. Are they really a good deal?

Understanding 3pt hitch categories

Kubota BX-series Filter Kit and Service Overview (*NEW* BX 80 series)

Will it start challenge! Cold weather starting of Kubota equipment